Minecraft has an oft-ignored tooltip feature that displays additional information about items within the game. The tooltips show specific IDs for each item, but they also show more critical details: remaining tool, weapon, and armor durability, as well as other important details.
How to Turn On Advanced Tooltips
The easiest way to turn on Advanced Tooltips in Minecraft is to press F3+H at the same time. A message will appear on screen that reads:When you see this, you’ll know the command succeeded. Some users report problems turning on tooltips this way due to hardcoded commands within their keyboard that set F3 + H to another shortcut. If your keyboard won’t allow you to remap the shortcut, you’ll have to find another way to turn on Advanced Tooltips.There are mods that allow you to enable the feature and access other debug commands through the options menu.
Tooltips Show Remaining Weapon and Tool Durability
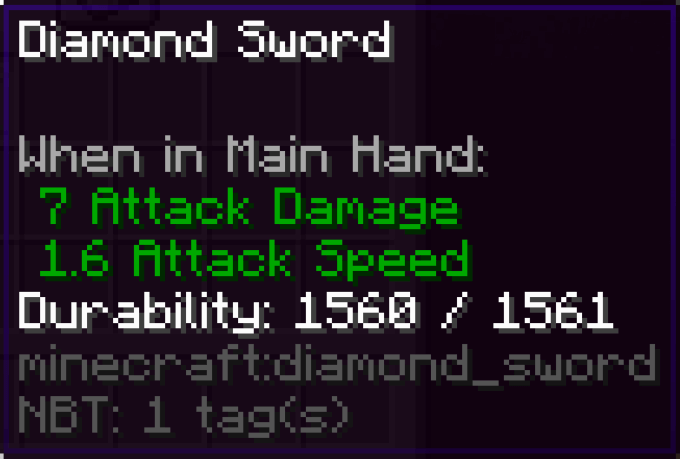
In vanilla Minecraft, it can be difficult to gauge how many hits remain on your weapons. Maybe you found or fished an incredible item with powerful enchantments, but its durability gauge has decreased to almost nothing. Advanced Tooltips in Minecraft don’t only show a gauge. They show the exact numeric durability remaining on any given item. Take a look at the above image for an example. Using these tooltips allows you to pay attention to the rate weapons break down, too. It can be the difference between putting your new-found item to use immediately or stashing it for repair later. Although a good rule of thumb is any damaged item you fish out is typically one use from breaking.
Tooltips Show Remaining Armor Durability
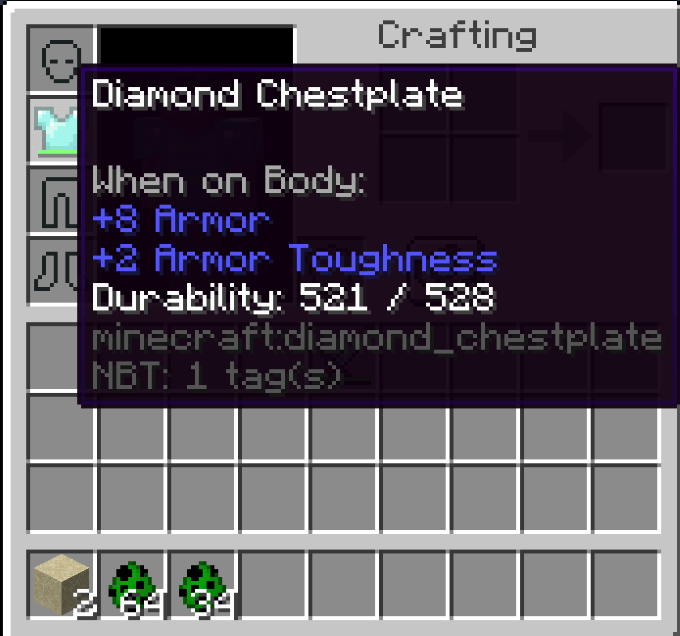
Just as Advanced Tooltips in Minecraft demonstrate remaining weapon and tool durability, it can also show you how much more abuse your armor can take. Different enemies and types of damage cause your armor to decrease at certain rates. The above damage was caused after a Creeper explosion at point-blank range.For example, a fall might damage a set of boots, but it isn’t likely going to damage your chest plate. Burning will damage all of your armor. Armor worn by enemies won’t take damage except when worn by undead creatures, and their helmets will take damage when they begin to burn in sunlight.Tooltips can also be used to designate additional information about items, such as whether a beehive contains bees or not. Beyond that, tooltips offer no additional information–but there are other ways you can put the debug menu to use.
F3+B Activates Visible Hitboxes and Line of Sight
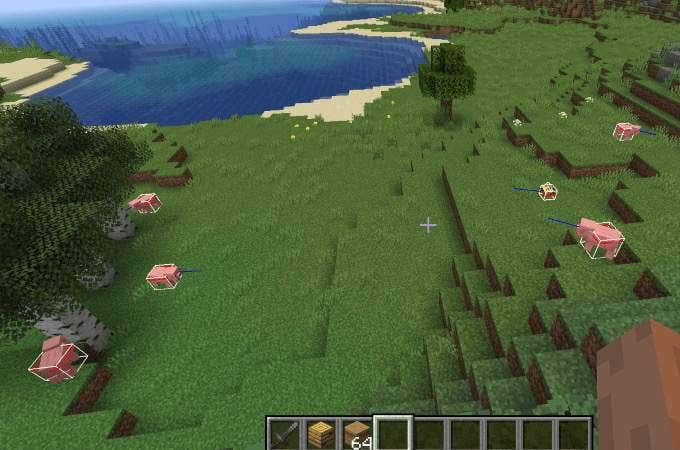
The F3 key paired with another key isn’t just for activating tooltips–it’s for manipulating the in-game debug menu. This allows you to view a wealth of information you might not otherwise have access to. For example, if you hit F3+B, you can view different entity’s hitboxes and their line of sight. This can be particularly useful if you aren’t sure how large an enemy actually is. You can gauge how close you need to get in order to land a blow, as well as what direction that enemy is looking. When it comes to Endermen, you want to avoid making direct eye contact–and this command can help.
F3+T Reloads Resource Packs
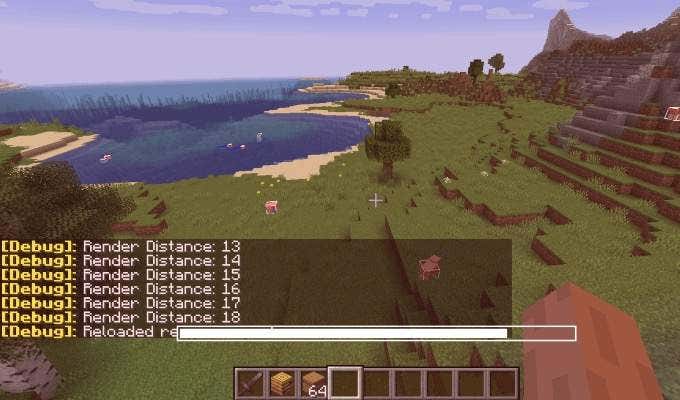
Minecraft is an old game with a lot of modifications over the years. Though it typically works without a hitch, there are times when the resource packs can fail. You might encounter graphical glitches or weird bugs that interfere with gameplay.When this happens, press F3+T to reload the texture packs. This is particularly useful if you are playing a modded version of Minecraft or you’ve downloaded additional texture packs to improve the game’s appearance. The game will pause and a load screen will appear. After the bar fills complete, the screen will flash and the game will resume with all of the textures reloaded.
Alt+F3 Displays Frame Time Graph
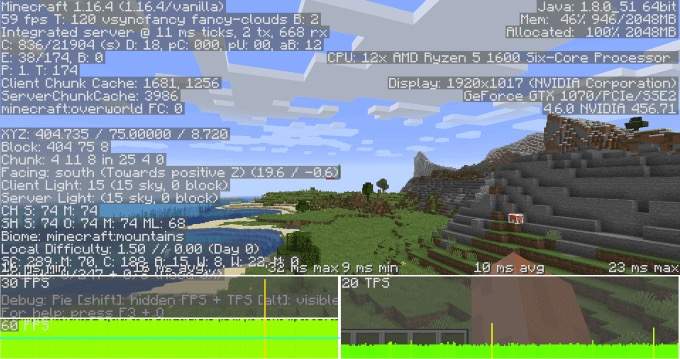
No one would define Minecraft as a resource intensive game, but specific mods can definitely impact performance. If you’re concerned about your in-game framerate and you want to monitor it while you perform specific activities, press Alt+F3. This opens the debug menu, with the added frame time graph at the bottom.You can play the game while this menu is on screen (although it is quite distracting) and monitor how your frame rate behaves during play. This is a good way to measure exactly what activities might be impacting your performance.
F3+G Shows Chunk Borders
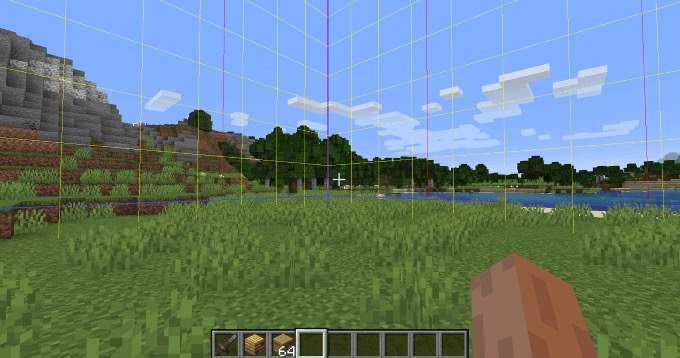
The Minecraft world is divided into different sections called “chunks,” each of which is a 256-block high, 16×16 area. They are important for a variety of reasons, but the main one is this: Chunks that remain loaded at all times affect the gameplay of the entire world.For example, your spawn chunk (the section where you spawn within the game) is always loaded. If you have a lot of redstone clocks set up that are causing lag in that chunk, then every chunk in the game will also experience lag. Most chunks are not loaded, however. If you want to make sure you’re building things in different chunks to avoid overlap and potential errors, it’s important to be able to see chunk borders. Press F3+G to show these on-screen. Once you know where the chunk borders lie, you can better plan redstone machines, mods, and much more.

