What is Glide Apps?
Glide Apps is a website, glideapps.com, that enables you to create your own app, from a Google Sheet, in as little as 5 minutes. That’s what they claim. Truly, it’s probably going to take more than 5 minutes, but it certainly won’t take as long as learning how to program an app. Maybe 10 minutes.
What Do I Need to Build an App?
All you need to build an app with Glide Apps is an account with them, a Google Drive account so you can use Google Sheets, and a little time. Glide Apps has a free account option. It will serve most people’s needs and even allow you to share your app with others. To follow along with the tutorial, you’ll need to create a Glide Apps account so sign up for one. If you don’t have a Google Drive account, please go create one now.If you have some experience with Google Sheets, that will help you if you want your app to be more complex. Learning Google Sheets is much easier than learning to program, so this is still a great option for most people.If you’re not familiar with Google Sheets, you might be more familiar with Microsoft Excel. There are some differences between Sheets and Excel. If you’re comfortable in Excel, you’ll pick up Google Sheets quickly.
How Can I Build an App with Glide Apps?
Let’s build an app to track who we loan our books to. You’ll learn all the basics of how to make an app with Glide Apps by doing this. Then you can take it to the next level and make an app for yourself. Our book lending app is going to track our books and our friends, and match up which friend borrowed which book, and when. The front page will list our books. When we click on a book, it will take us to the book’s detail page.The book detail page will show us all the details of our books, which friend has it, and when they borrowed it. Next to the friend’s name will be buttons that allow us to call or text our friend to remind them to return our book.The friends page will allow us to add, or maybe remove, friends along with their e-mail and phone number. Let’s begin.
Create a Google Sheet
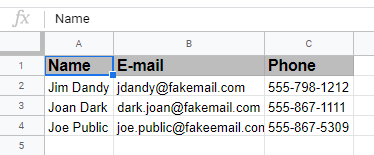
In our Google Drive, we’ll create a Google Sheet and name it Book Tracker.Re-name the first sheet Books. The name of the sheet becomes the name of the page within the app, so use simple names that make sense.We’ll need 8 columns in the Books sheet: Title, Author, Format, Price, Photo, Loaned_ To=Friends:Name, and Date Loaned. Why is that one column named Loaned To=Friends:Name? That is like an equation that Glide Apps can read. What it tells Glide is that this column has the name of the friend that you loaned the book to. Then it tells Glide to associate the names here with the name, phone number, and e-mail of that friend in the Friends sheet. More on that later.Now we need to create a Friends sheet. Go ahead and do that. The Friends sheet needs 3 columns. Name them Name, E-mail, and Phone.
Add Data to your Google Sheet
Let’s add some information in our Book Tracker spreadsheet. In our example, we’re using just 4 books to start with. That’s enough to help us make and test our app. We can add as many books as we want later.The Photo column needs a little explanation. You can find an image of the book you want on the Internet. Right-click on the image and select Copy Image Address. Paste that in the Photo column. You’ll see later that our app will show the image. If you want to use your own pictures, you’ll need to have them hosted somewhere online. Let’s leave the Loaned_To and Date Loaned fields empty for now.Switch to the Friends sheet and fill out the Name, E-mail, and Phone columns. The example uses some made up names, of course.Go back to the Books page. Now you can fill in the Loaned_To and Date Loaned fields. The name you put in the Loaned To field must be identical to what’s in the Friends sheet. That is what Glide will use to link the two together. If they aren’t identical, Glide assumes that they aren’t the ones that need to be linked.Now we’re ready to start creating our app in Glide Apps.
Creating the App in Glide Apps
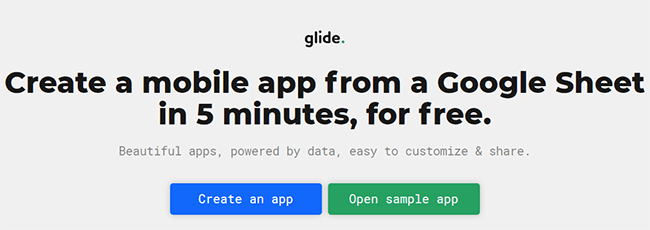
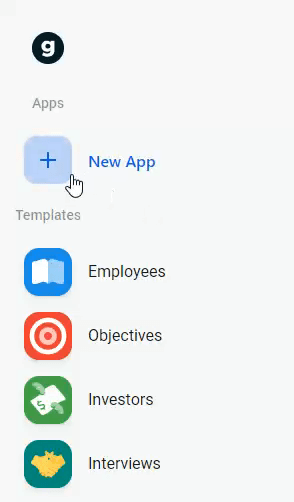
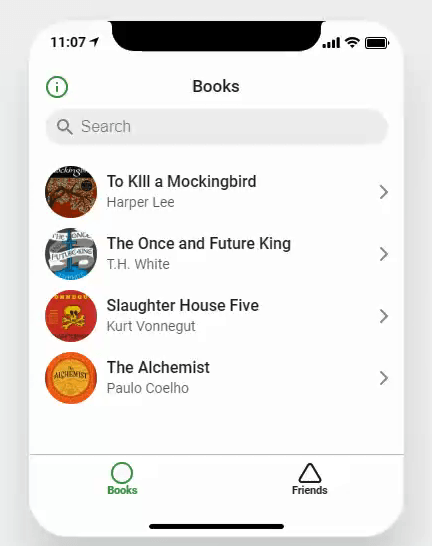
Switch to the Glide Apps website at https://www.glideapps.com/. Click on the Create an app button. That will take us to the app creation site.Click on the New App button on the left side of the screen to start the process.A window will open that is tied to our Google Drive account. Here, we’ll select the Google Sheet from which we want to make our app. Double-click on Book Tracker. Glide Apps will start making the app for us. It will take about a minute, probably less.Once the app appears, we can see that the app is almost complete. It will work like this, but let’s make it a little better.
Setting the App Logo and Information
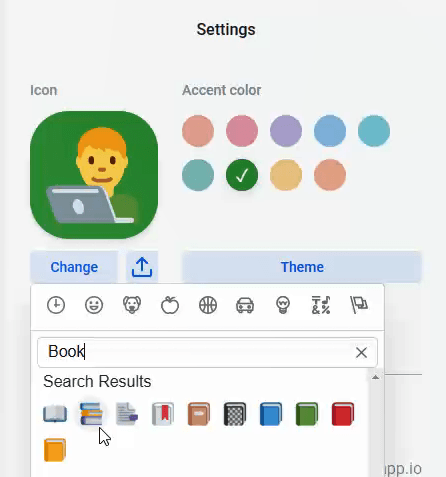
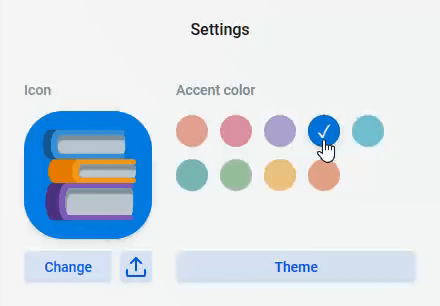
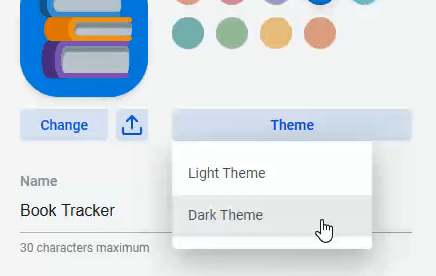
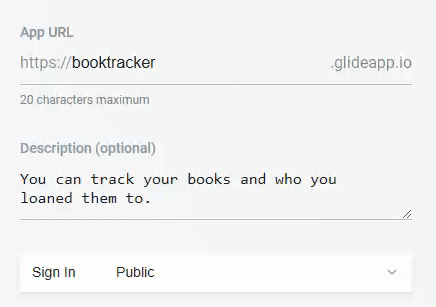
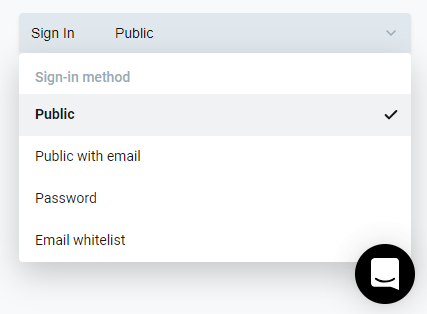
Click on the Book Tracker name and icon in the top-left corner of the page. That will open a toolbar on the right where we can customize the app’s icon and name. Click on Change under the icon, and search for a suitable icon. You can select almost any emoji that there is. Let’s select a book.Now we can change the background color of the icon. We went with a blue/purple, but we could choose any of the colors.We’ve now got a professional looking logo for your app. So easy!Here, we can also change the theme of the app. Our choices are Light, which is the default that we see, and Dark, which is an inverse of the light. There’s also a section here that allows us to give our app its own web address. For this example, we’ve chosen to give it the URL of https://booktracker.glideapp.io. Only one person can use that URL for their app, so you’ll need to use something slightly different.Just below that is an area where you can write a brief description of your app. Right under that, we can set the privacy of the app to any of the following choices: Public, Public with e-mail, Password, and E-mail Whitelist. This allows us to determine who can have access to our app. For demonstration purposes, we’re setting it to Public.Take note of that smiling chat icon. That is our direct line to help. We can use it to search Glide Apps’ Wiki. If we don’t find the answer we need, we can send a message to the good folks at Glide Apps. They’re responsive and helpful.
The Books Page
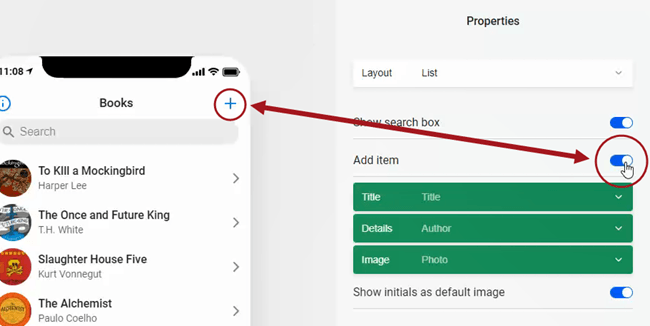
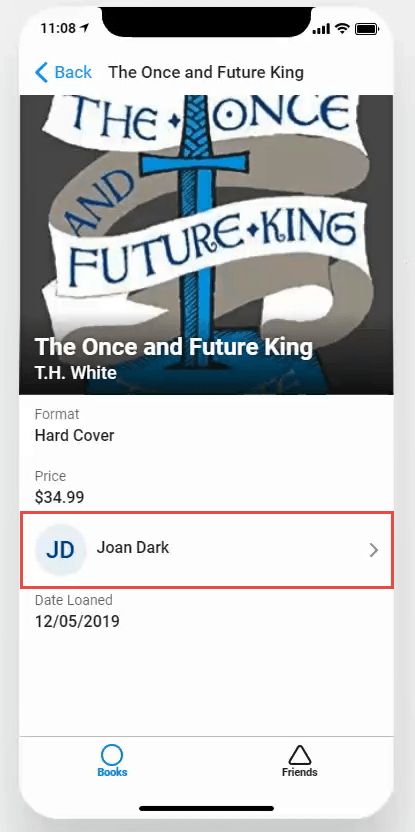
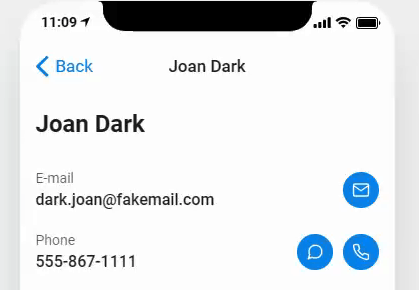
We own more than 4 books, so we’ll want the ability to add more books directly from the app. To do that click on Screens in the left toolbar. In the right toolbar, we’ll see a button for Add item. Click on that and a plus sign (+) will appear in the top-right corner of our app. Clicking on the plus sign opens a form that we can use to enter more books.Let’s look at an individual book’s page. Click on one of the books and it will take us to the details page for that book. Everything that we had in our Google Sheet on the Books page is presented nicely here.We can see that a friend’s name is listed under the book, with an arrowhead to the right of it. Tapping on this brings us to the details page for that friend. From here, we can e-mail, text, or call the friend to see how they’re enjoying the book, or to ask for it back.
The Friends Page
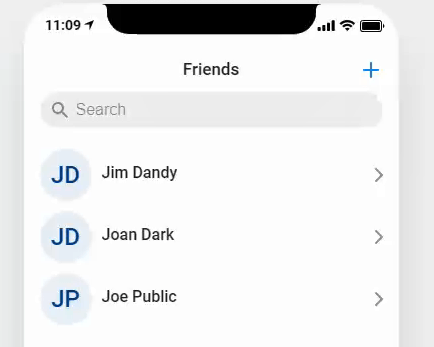
Let’s look at the Friends page. It looks like the Books page, but with our friends of course. We’ve got more than three friends, so let’s make the app allow us to add more friends, just like we made it allow us to add more books. In the right toolbar, click on the Add item button. We’ll see a + sign in the top-right corner of the Friends page. Clicking on that opens a form that allows us to add more friends.
App Navigation
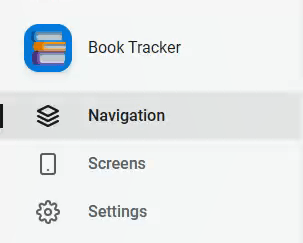
Finally, let’s tidy up the navigation. Click on Navigation in the left toolbar. In the right toolbar, we see the app pages listed. Let’s change the icon for each page to be a bit more meaningful. Click on Change under circle icon for Books. We can search for a suitable icon here. Let’s choose the Book Open icon.Do the same to change the icon for the Friends page. We chose the Facebook icon because it’s easily associated with friends.
Apple or Android?
So far, we’ve done all this in the iPhone view. If we’d like to see what the app would look like for an Android device, click on the Apple icon near the top-right of the app preview area. It will instantly show you what it will look like on most Android devices.
Sharing the App
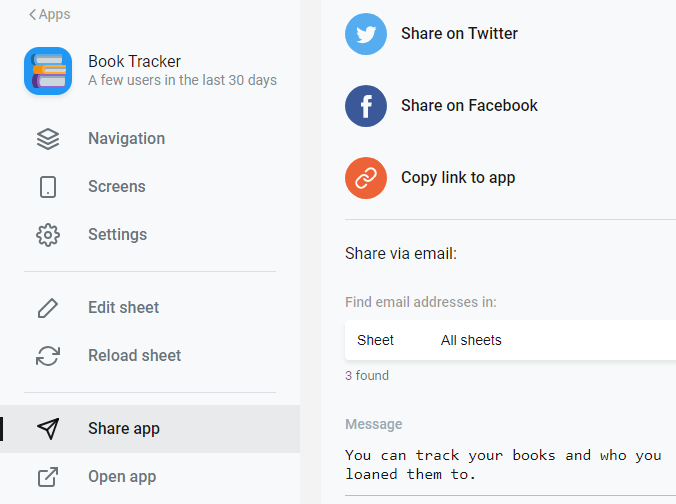
That’s it! Your app is done. All that is left to do is to share it with people and Glide makes it easy to do that too. Just click on Share App in the left toolbar for all the ways we can share it with people. We can share it to Twitter, Facebook, via e-mail, or get a link that we can put on a website.
What Will Your App Be?
Glide Apps provides some simple and more complex example apps that you can take apart to learn from or get inspiration from. You could make an app for your gaming guild, or a directory of local restaurants, or whatever strikes your fancy. If it can be represented in spreadsheet form, you can use Glide Apps to make an app for it. We hope you give Glide Apps a try and let us know what you created.
![]()



![]()

![]()

