If you aren’t happy with the quality of the photos in your Instagram stories, one of these tips might just clear things up for you.
Instagram Stories Recapped
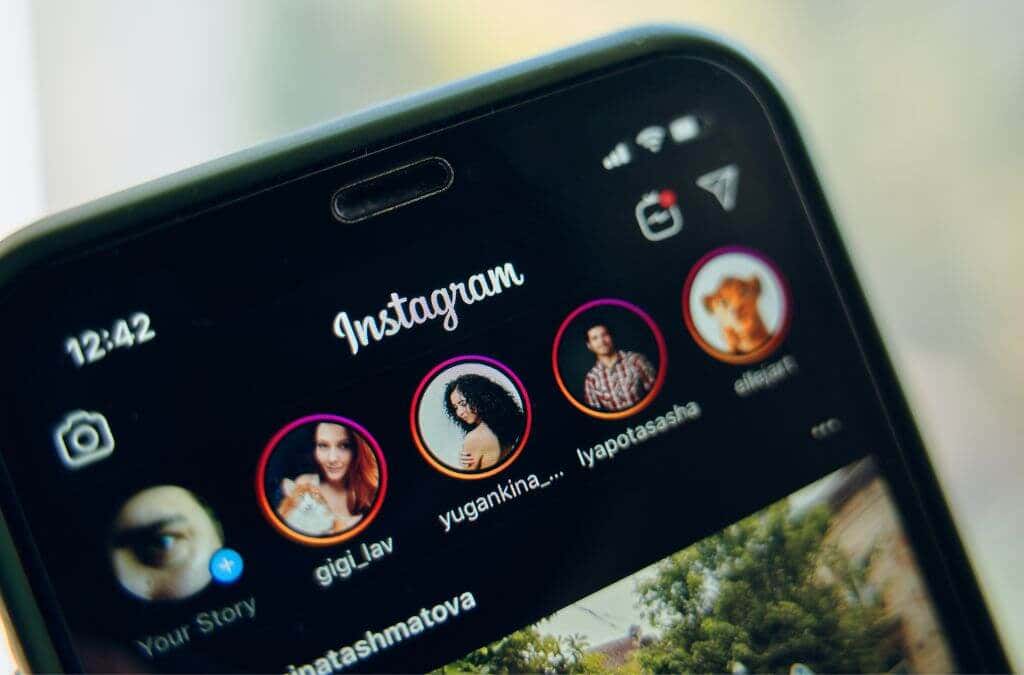
Instagram Stories are a separate feature from regular Instagram posts that appear in your feed. The main feature of these special posts is that they disappear after 24 hours. You can document things that happen during your day and post as much as you like without cluttering your feed. Stories come with various text and drawing tools to let you be creative with your posts, and you can connect with your most active followers on what’s essentially a separate channel. If you want to know more about Stories, check out What Is An Instagram Story & How To Make One.
1. The Problem Is With Instagram
Before you start poking around your phone or app settings, consider that the problem isn’t you but Instagram itself. Check Instagram’s official Twitter Account for any announcements, or see if any other Instagram user complains of the same problem. If it’s a server-side issue, that could be why Instagram Stories are coming out blurry. All you can do is wait it out and keep an eye on any official announcements.
2. Update the Instagram App to the Latest Version
While this is not a fix specific to the blurry image problem, it’s always a good idea to check if a new app version is available for updating in the Apple App Store or Google Play Store. If you haven’t updated your app in a long time, it may no longer be properly compatible with the service. The latest update may also be fixed if the issue is caused by a bug that Instagram has discovered.
3. Your Image Is Formatted Incorrectly
Instagram Stories have a fixed image format. If your image isn’t cropped correctly, Instagram will crop it for you. This could result in a stretched or pixelated image. So you’re better off cropping your image yourself before uploading it. Instagram Story Videos and Instagram Photos have a 9:16 aspect ratio. Instagram limits these media to 1080×1920 pixels at the high-quality end of the scale. Your phone’s image editing app should have cropping templates for various aspect ratios, so choose 9:16. Your video size must be, at minimum, 600×1067. This offers good quality while saving on bandwidth. It’s okay if your image has a higher resolution than 1080×1920 since Instagram will just resize it down. However, if the image is lower, it will be scaled up, leading to quality loss. A poor quality source will result in a poor quality result. The best practice here is to take photos that are 9:16 and set your camera app to take high-quality images. Then there should be minimal quality differences. Your image must be no larger than 1MB, so don’t go too high with the quality settings.
4. If Your Story Is Upside Down, Upload It Upside Down
Sometimes users encounter a weird bug where certain photos are upside down once uploaded. We’re not entirely sure why this happens, but you can try to upload the images upside down in the first place so that they are correct once uploaded. Based on what we’ve seen, it’s usually only a particular image in the group that turns upside down, so open it in your phone’s editing app and rotate it, then upload it and see if that fixes the problem.
5. Disable Data Saving Features
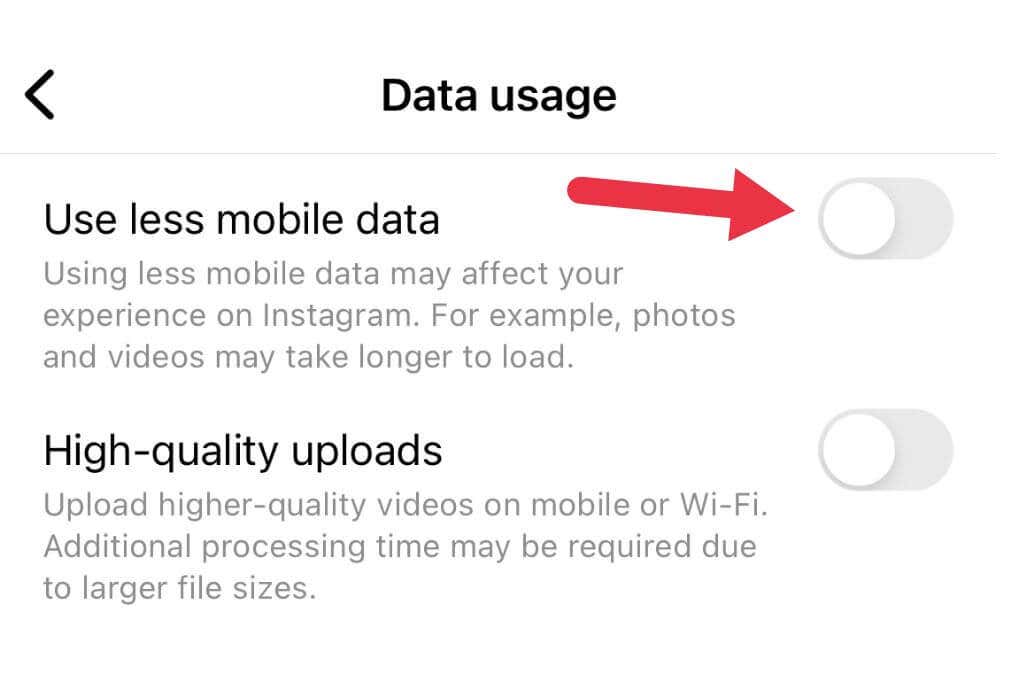
VIdeos and images can be data hogs, and if you’re on a mobile data connection, you may have a data cap in place. To help lower your bandwidth, the Instagram app has a feature where lower-quality versions of videos and photos are displayed but have significantly less impact on your cellular data use. If you’re seeing photos that seem too blurry or low-quality, you can either switch to a Wi-Fi internet or turn off the mobile data saver feature. Go to Instagram Settings > Account > Data Usage, then toggle. Use less mobile data off.
6. Enable High-quality Uploads
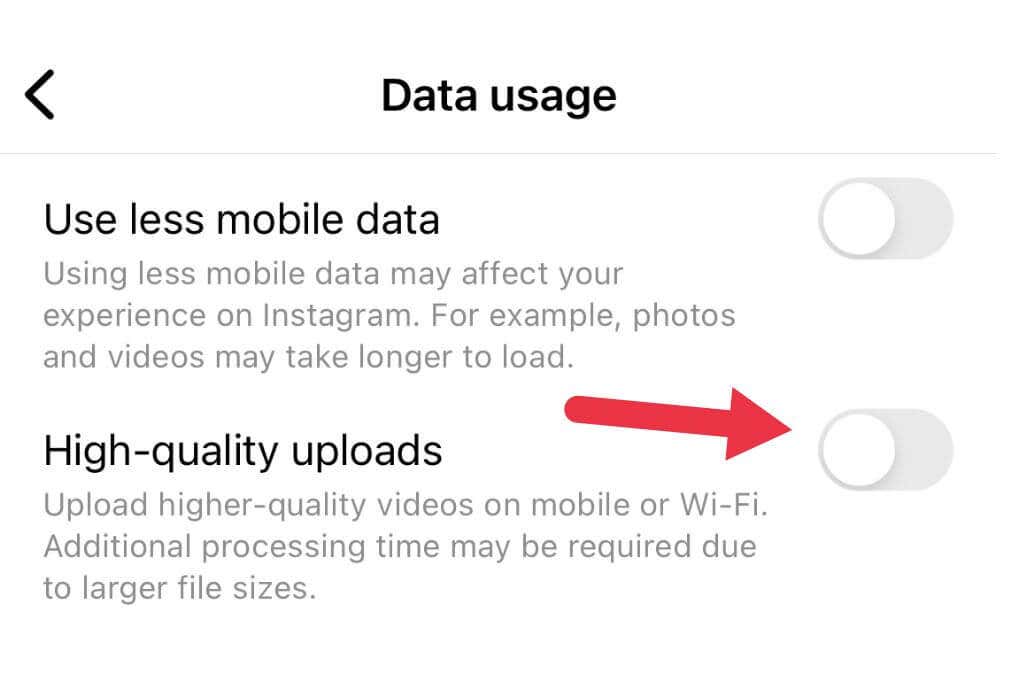
If you’re not happy with the quality of your video uploads, you can also change Instagram’s settings to upload a larger, better-quality video. This affects both Wi-Fi and mobile connections. Be aware that the video will take longer to process and upload. Go to Instagram Settings > Account > Data Usage, then toggle High-quality uploads on.
7. Send The Photo or Video to a Friend or Post it to Another Social Media Platform
Your photo or video may be blurry because the original content on your phone is blurry to start with. Try sending the content to a friend and have them tell you if it looks blurry at the other end. The source material has an issue if the photo appears blurry after sending it to a friend. You can also try posting your photo to another platform such as Snapchat. If the other app uploads your picture correctly, but Instagram doesn’t, the issue must be either with the Instagram app or the service.
8. Download a High-Quality Version of the Photo
If it turns out that your photos are blurry because the copy on your phone is low quality, you may want to check your Google Photos or Apple iCloud galleries to download the original quality asset. It’s possible that if you have a data saver option enabled or you’ve restored your phone from a backup, the high-quality versions of the image haven’t been downloaded yet. On an iPhone, browse your gallery for the photo and tap on it, it should download the full-quality version automatically, and you should see a difference in crispness compared to the preview image.If you’re an Android user, open the Google Photos App, search for the image you need, and then download it to your gallery manually.
9. Test With a Fresh Photo
Another good way to check if the problem is only happening with older photos on your phone or photos restored from a previous backup is to take a new image and share it with your stories. If that doesn’t work, it likely means that there may be something wrong with your camera hardware, poor camera quality, or the camera app settings need adjustment.
10. Check Your Camera Settings
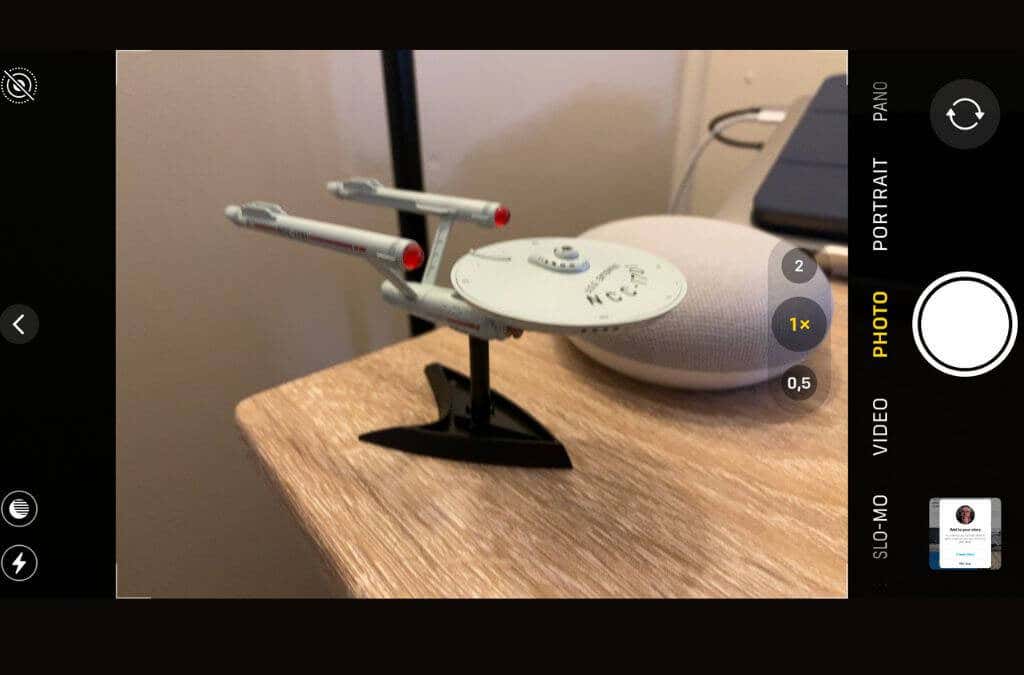
If your freshly-taken photo is blurred, the problem must be your camera or camera app. The only real action you can take regarding your physical camera hardware is to ensure that your lenses are clean. When it comes to your camera app, you should check the quality settings to ensure that you are taking the highest quality photos you can. Camera apps differ by brand and phone model, so there are no universal steps we can provide here. Start by making sure you’re using the correct camera mode, that the photo is in focus, and that you aren’t accidentally shaking the camera when you take your snap. Some phones suffer from significant shutter lag, so it’s possible to start moving the camera when you think the photo has already been taken and then mess up the shot.
11. Take Photos With the Instagram Camera Itself
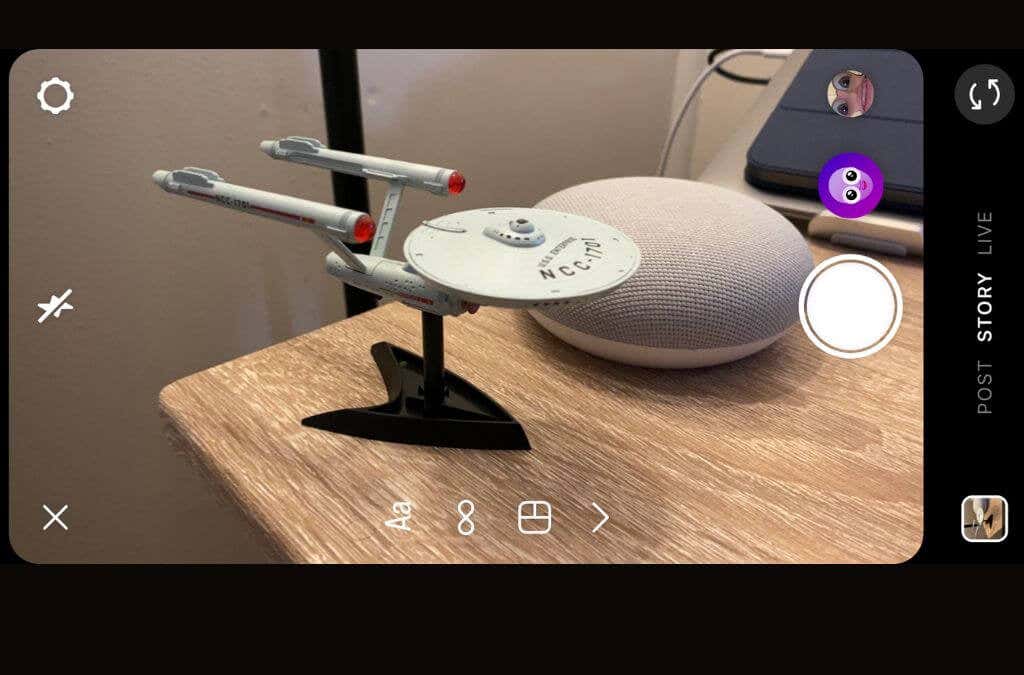
The Instagram app has a built-in camera function. If you’re having problems with your photos or videos getting garbled in the upload process, it may be worth using the Instagram camera app rather than the default camera app. This way, you’re guaranteed that the format will be perfect and that there’s no need for any quality loss during the conversion. Of course, this also means that you won’t have a high-quality original or benefit from the image processing features of your phone’s camera software. However, that’s still better than a blurry or garbled image ending up in your story’s upload.
12. Try a Different Internet Connection
While we aren’t entirely sure why this makes a difference, some Instagram users have reported that having an unreliable internet connection can cause blurry uploads. Whether this is the case or not, it can’t hurt to switch internet connections and try again.
13. Delete and Reinstall Instagram
Sometimes mobile apps just go wrong, so you may want to delete the Instagram app and download it again from the app store. This should clear out any weirdness accumulated in the app’s cache and ensure you have a fresh copy of the latest version. You’ll have to log into your Instagram account again, but hopefully, this last-ditch effort will be why your Instagram Stories are blurry.
