You would think it would be super easy to change the clock in Windows to military time, but it’s not! The procedure is also different depending on which version of Windows you are using. In this article, I’ll walk you through the steps to change your Windows XP, 7, 8, or 10 PC time to military format.
Windows XP Time Format
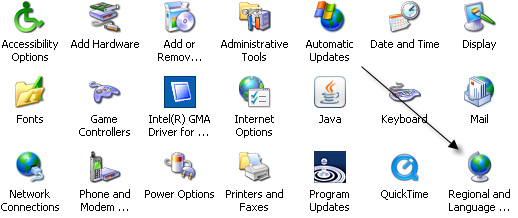
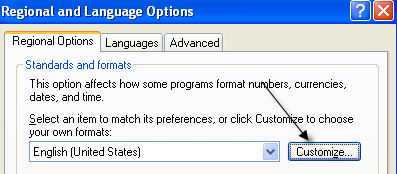
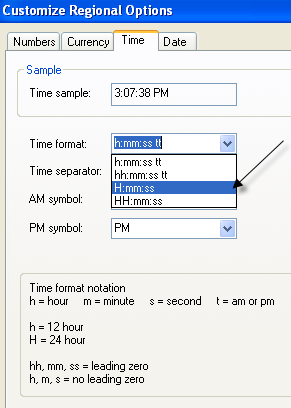
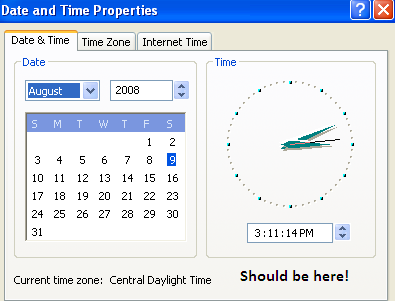
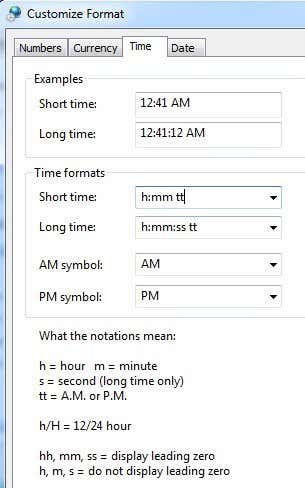
First open the Control Panel and then open Regional and Language Options. If you don’t see the icons, click the Switch to Classic View link at the top left.Next click on the Customize button on the Regional Options tab.Click on the Time tab and choose any of the options with the upper case H. Lower case h means 12 hour format and upper case H means 24 hour format.Now click OK until you are back to the Control Panel. Not a very straightforward process at all. It would make much more sense to put the option in the Date and Time Properties dialog when you double click on the time in your system tray.Microsoft has kind of done this in Windows 7 and higher, but it takes quite a few clicks to get it done. Ironically, it’s faster to use the Control Panel in Windows 7 and higher. I explain the steps below for later versions of Windows.
Windows 7, 8 & 10 Time Format
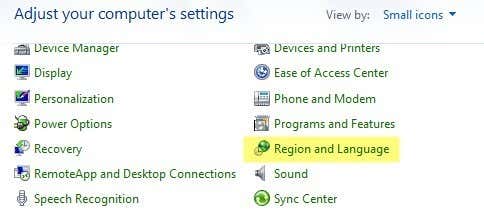
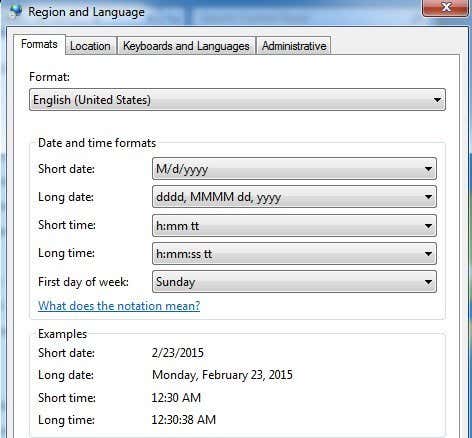
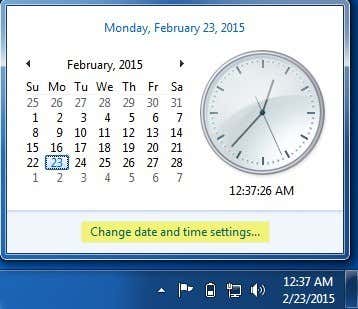
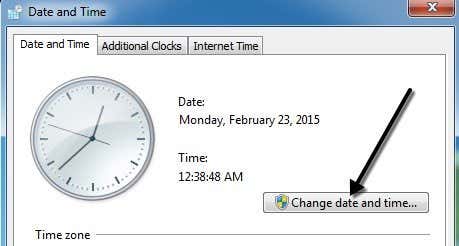
In Windows 7, open the Control Panel and click on Region and Language. In Windows 8 and Windows 10, it’s just called Region. If you are in Category view, switch to Small or Large icons at the top right.Now in Windows 7 and higher, the Formats tab is front and center and you can change the time format from the Short time and Long time dropdowns.Again, the capital H is military time. In order for the change to appear in the time shown in the taskbar, you have to change the Long time format. I’m not sure where the Short time format is used in Windows, but you can change that too in order to keep everything consistent.The other way to go about this in Windows 7, 8, and 10 is to click on the date and time in the taskbar and then click Change date and time settings.A new dialog will appear and at the top you have to click the Change date and time button.Another dialog will pop up where you can actually adjust the date and time manually. Here you have to click on the Change calendar settings link.Finally, this will bring up Customize Format dialog, where you have to click on the Time tab. This is a really long way to get to the same dialog that you can get to in one click from the Control Panel.That’s about all there is to changing the time to military format in Windows. If you have any questions, feel free to post a comment. Enjoy!