I had previously written about a third-party program with parental control features, but I have found that Windows 10 works quite well and is easier to use since it’s built in. Before you can start using any parental control features, however, you first have to create a new family member account for your child.In this article, I’ll walk you through the steps for creating a new Microsoft family member account. You’ll need to make sure you already have a Microsoft account for yourself and that you are logged into Windows using that Microsoft account. Unfortunately, if you are using a local account to sign into Windows, you won’t be able to use any of the family protection features.
Create Microsoft Family Member Account
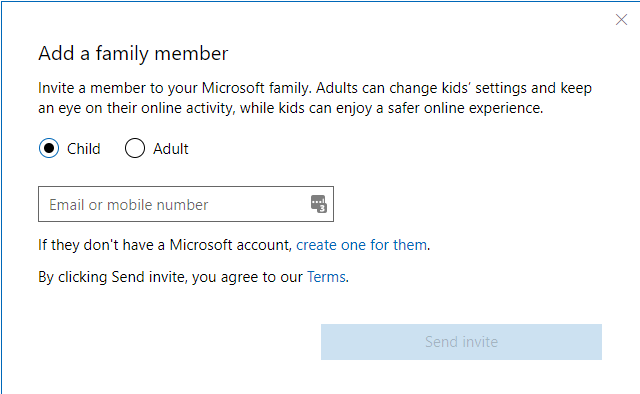
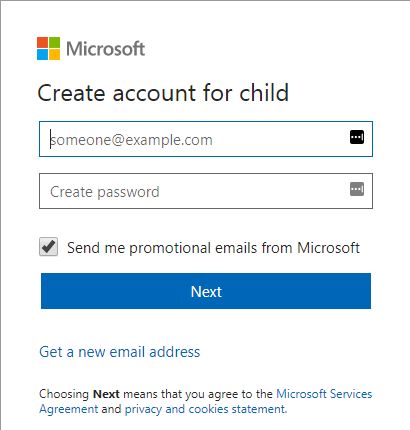
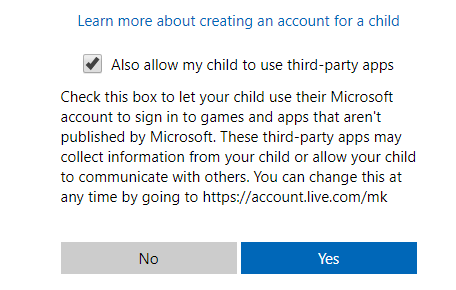
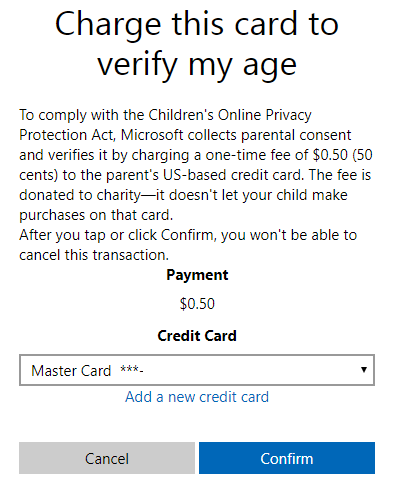
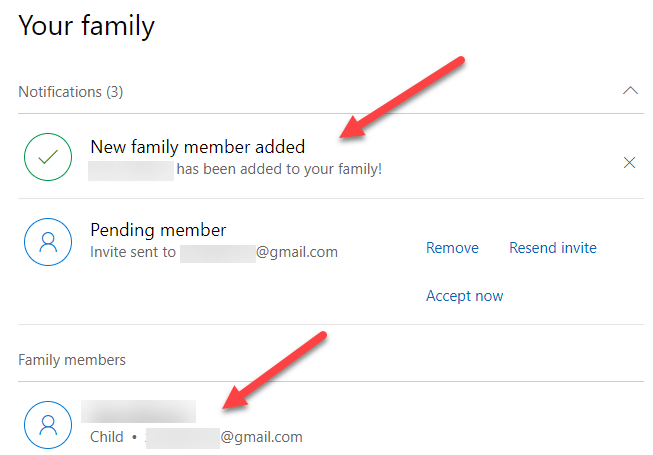
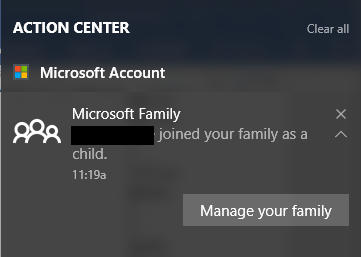
There are two ways you can go about adding a family member to your account: either via the Settings dialog in Windows or via the Microsoft website. Since most of the options are online, I’ll go through the website method.To get started, go to the Family page after logging into your Microsoft account. If you don’t have anyone added yet, you’ll see a message about signing in to add a family member.Once you sign in, you’ll be asked to choose whether you are adding a child or an adult to your account.If you already setup a child account with Microsoft, then just enter their email address to send the invite. If you haven’t setup any account yet, then click on the Create one for them link. You’ll be asked to enter the email and password for the child account.If you child doesn’t have an email address yet, then you can click on Get a new email address at the bottom. This will automatically create a @outlook.com email address. If you want to create the Microsoft account using a different email address, like @gmail.com, you should go create that account first and then start the procedure again.Once you enter an email address and a password, you’ll be asked to enter the child’s first and last name and then their birthday.On the next screen, you have to agree to some terms since you will be giving access to a minor. You also have the option to allow your child to use third-party apps or not. Click Yes to continue.To prove that you are an adult creating the child account, you have to put in your credit card info so that it can charge you $.50. Click Confirm to accept the charge.Once you have done that, an email invitation will be sent to the child’s email address. Either you can open it yourself or have your child open it and click on the Accept Invitation button. They will be asked to sign into their Microsoft account and then they will be officially added.On your end, if you log into your adult Microsoft account and go to the Family page, you should now see that a new family member has been added. It’ll also say Pending member until the invitation in accepted.You’ll also get a notification in Action Center on your Windows 10 machine stating that your child has been added as a family member. That’s about it! Now you just have to make sure your child logs into Windows using their new account in order for you to use the parental control settings. In my next post, I’ll go through how to setup the different controls and how to monitor activity. Enjoy!
