Windows 7, 8, 10 and Mac OS X all have built in wizards that help you calibrate your monitor so that it’s not too bright or too dark. For me, my monitors were always super bright and I starting using a third-party program called f.lux that adjusts the color of the monitor during the night.Once I calibrated my monitors, I didn’t need to use f.lux as often, even at night. In addition to brightness, the colors on the screen looked better after the calibration. In this article, I’ll talk about how you can calibrate your display on Windows and Mac.
Calibrate Display – Windows
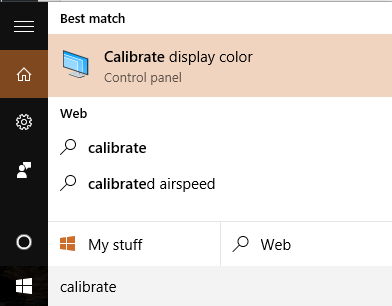
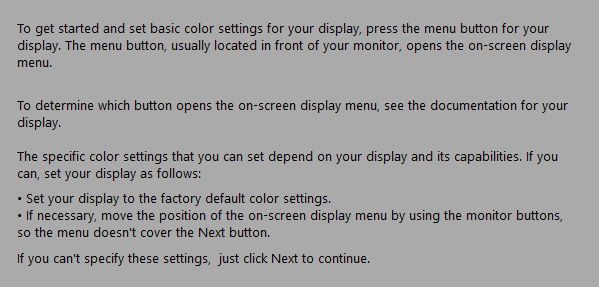
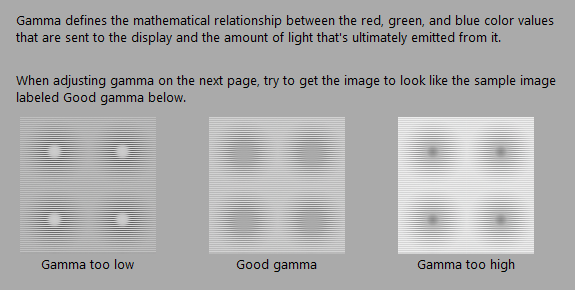
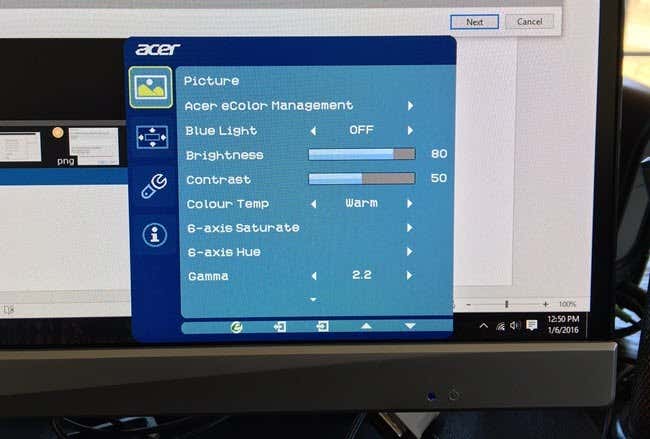
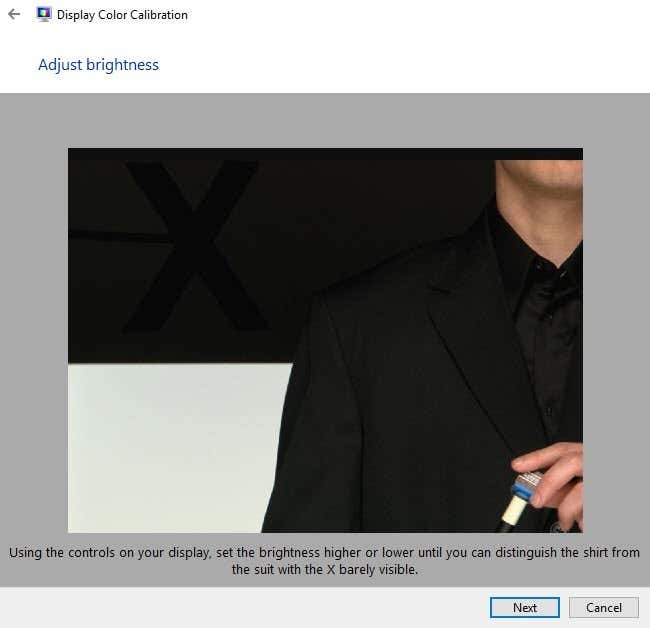
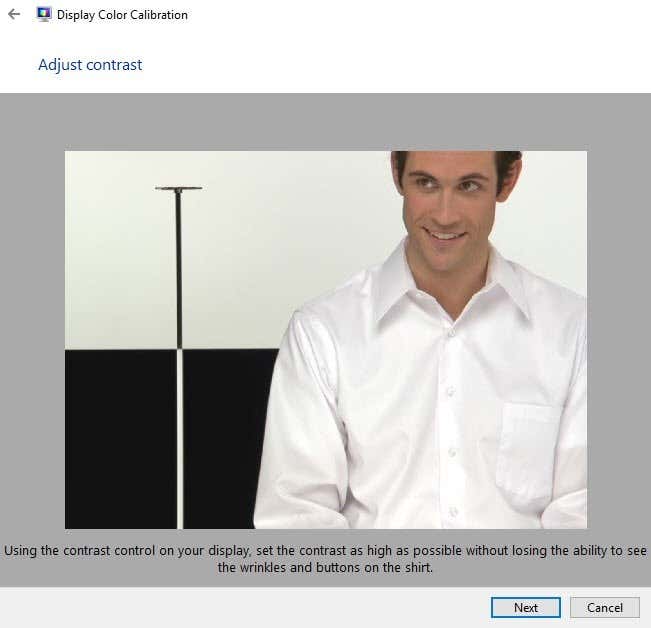
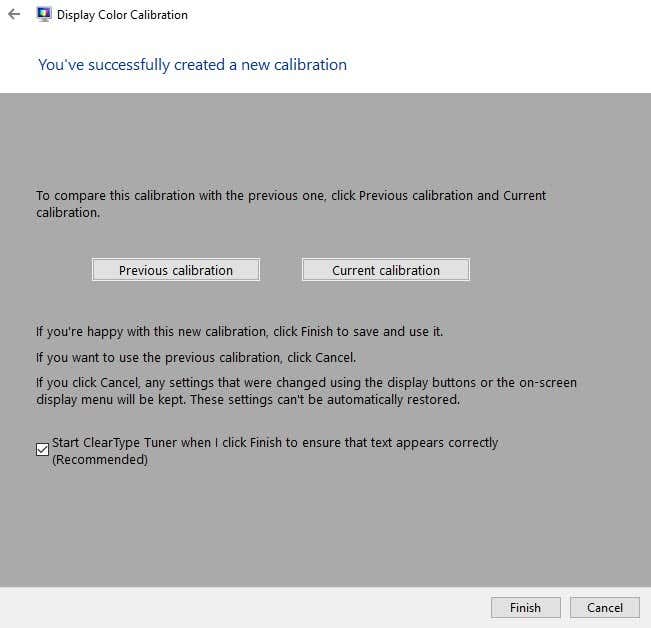
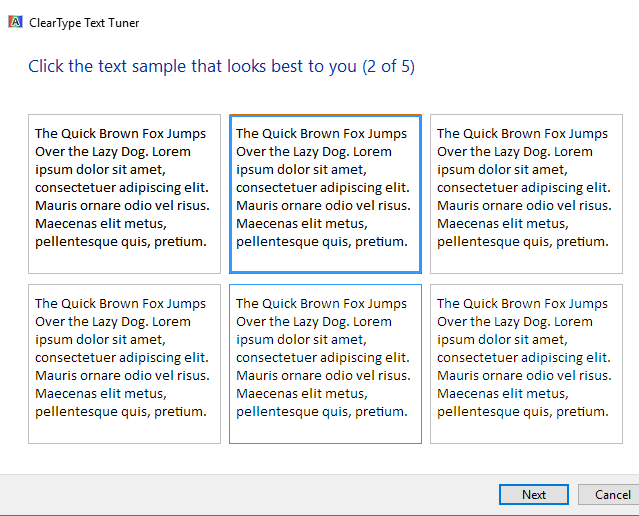
To start the calibration wizard in Windows, click on Start and type in calibrate. You can also get there by going to Control Panel, clicking on Display and then clicking on Calibrate Color in the left hand menu.This will start the Display Color Calibration wizard. Go ahead and click on Next to start the first step. The first thing it asks you to do is to open the menu for your display and reset the color settings to factory default. In my case, I just reset the whole monitor to factory settings because I wasn’t sure what settings I had already changed. If you’re using a laptop, just go through each step.Click Next and you’ll have to adjust the gamma setting first. Basically, for all the steps, you’ll need to match the screen to the center image, which is considered the best setting. It also shows you the too high and too low settings so you can clearly see when you’ve adjusted too much.Note that when you try to adjust the slider in the Windows program, the monitor may reset to its own default settings. Most of these settings you have to change via the monitor on-screen menu itself and not using the program (unless you’re calibrating a laptop display). You just use the program to make sure it looks like the image that is considered good.For example, here is a picture of my Acer monitor and the on-screen settings that can be adjusted. In my case, I had to adjust the gamma value from this on-screen menu because it wouldn’t let me change it using the slider in Windows.After gamma, you will need to adjust the brightness in order to distinguish the shirt from the suit and have the X barely visible in the background. You can skip brightness and contrast for laptop screens.Next up is contrast. Again, adjust the setting on your monitor. For contrast, you want to set it to the highest value possible before the buttons on the shirt start to disappear.The next screen will help you adjust the color balance. Here you want to make sure all the bars are grey and that there are no other colors present. In newer monitors, this is taken care of and if you try to adjust the sliders, the monitor will just reset to the default values, so you can just skip this part if that is happening to you.Once you finish this, the calibration is complete. You will now be able to click on Preview and Current to see the difference between the what you had before and what it looks like now.I would also leave the ClearType Tuner box checked before clicking Finish. This is another short wizard that will make sure the text is appearing crisply and clearly on your monitor. You basically have to go through five screens and choose which text looks best to you.That’s about it for calibrating a Windows monitor. Between the monitor software and this wizard, you really don’t need anything else unless you are a professional, in which case you’re probably going to have a high-end monitor anyway.
Calibrate Display – Mac
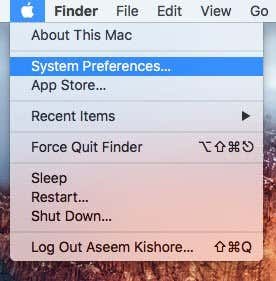
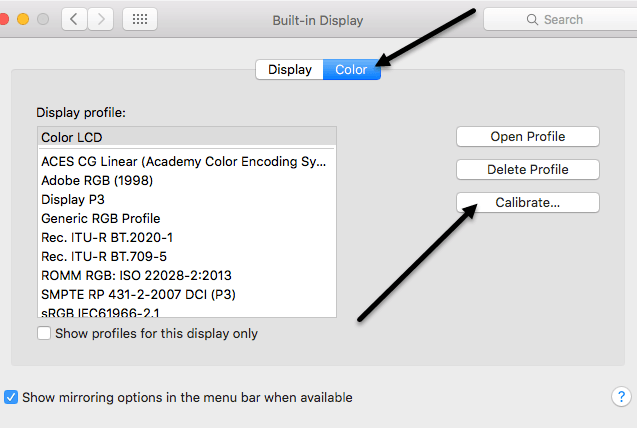
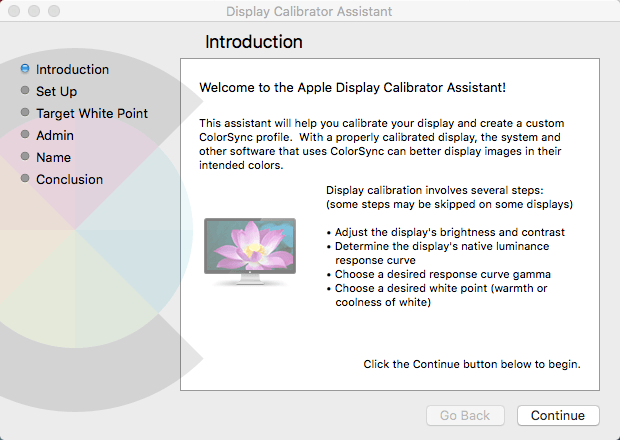
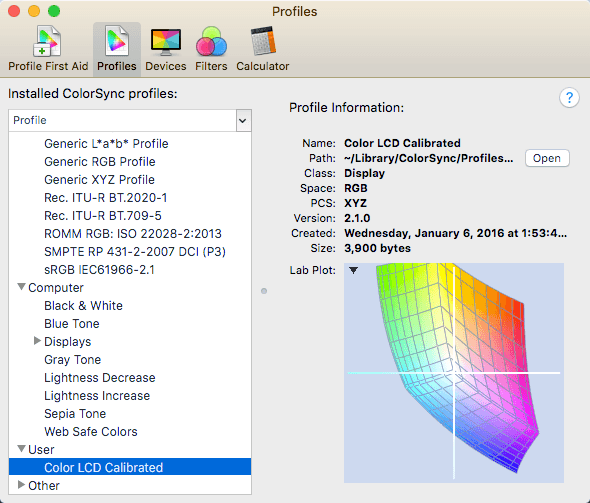
For Macs, the wizard is a little bit different when it comes to calibration. It also depends on what version of OS X you are running. I have written this article running OS X 10.11.2 EL Capitan, which is the latest version.To get started, click on the little Apple icon at the top left of your screen and then click on System Preferences.Next, click on Displays in the list.Now click on the Color tab and then click on the Calibrate button at the right.This will bring up the Display Calibrator Assistant introduction screen that will guide you through each of the steps.The Mac wizard is actually pretty smart and will remove any of the steps that your monitor cannot support. For example, I ran this on my MacBook Pro laptop and the only adjustment I could make was to the target white point. It skipped brightness/contrast, native luminance response curve, and gamma curve. If an external display is connected to your Mac, you’ll get the other options.For target white point, you can either use the native white point for your display or adjust it manually by unchecking the box first. I found the native white point gave a better color tint to the display than what was set when the OS was installed.I didn’t have an external display for my Mac, so I couldn’t get the other options like luminance, gamma, etc, but you can probably figure it out as you go through the wizard. The Admin step just asks if you want to make this color profile available for other users or not and Name step lets you name your new profile.The summary screen will give you some technical details about the current color settings for your display. OS X also has another tool called the ColorSync Utility that lets you repair color profiles, view all profiles, and calculate the RGB values for any pixel on your screen. Just click on Spotlight and type in ColorSync to load it.As I stated earlier, most people won’t ever worry about calibrating their monitors because most of them do a pretty good job by default. However, if you are picky about how everything looks on your screen, it’s worth giving it a shot. If you have any questions, post a comment. Enjoy!