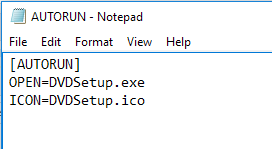
Most people think AutoRun and AutoPlay are just two terms for the same thing, but that is not accurate. AutoRun is a feature that first came out in Windows 95! What was the point of it exactly? To make installing apps for non-techies easier. If a CD contained a file called autorun.inf in the root directory, Windows would detect it automatically and follow the instructions in that file.This file is normally very simple and basically just points to a file on the disc, usually the setup file or install file. Here is an example of one below:In Windows XP and earlier, the file would be read and automatically run without any kind of prompt. If you have ever popped in an install CD/DVD for a piece of hardware or a program in Windows XP or earlier, it would just start running the setup program.This obviously posed serious security risks and Microsoft introduced AutoPlay as a way to fix the problem. AutoPlay’s job is to examine a newly connected media device, determine what kind of content is on it, and then display a dialog that allows the user to launch an application to play, run or display the content.Now depending on the operating system you are running, AutoRun and AutoPlay will work differently. In all versions of Windows earlier than Windows Vista, AutoRun is executed before AutoPlay, unless AutoRun is disabled. If it’s not disabled, AutoRun will execute and it will search for the AutoRun.inf file.In Windows XP, if the autorun.inf file is found, AutoRun can go ahead and bypass AutoPlay altogether and launch the application without asking the user first.In Windows Vista and higher, AutoRun cannot skip past AutoPlay. If there is an AutoRun.inf file, it will still be read, but instead of the application being launched automatically, a dialog box will pop up with a list of choices, some of which could be from the autorun.inf file.
AutoRun vs. AutoPlay Example
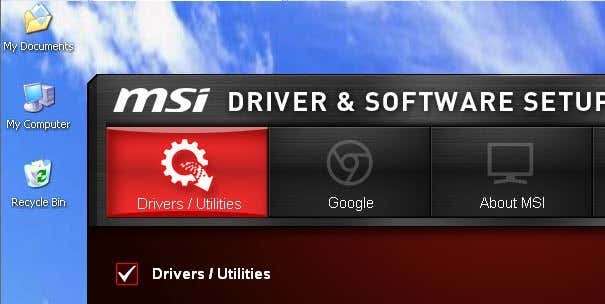
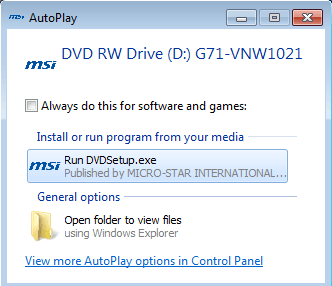
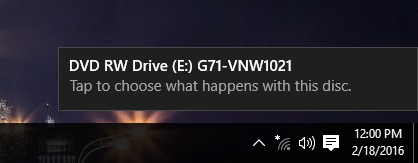
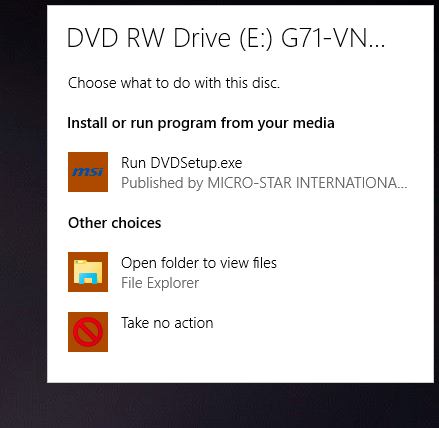
To make this totally clear, let’s go through an example. I have a MSI driver CD with me that I will pop into Windows XP, Windows 7 and Windows 10 to see what happens. The AutoRun.inf file is the simple one shown in the above screenshot.In Windows XP, the disc is read, an autorun.inf file is found and the MSI setup program automatically pops up on the screen.However, when I pop the same CD into Windows 7, I instead get the following AutoPlay dialog:As you can see, it’s trying to run the DVDsetup.exe file mentioned in the autorun.inf file, but now you get the option to choose. The same is true for Windows 10. Here you first get a notification on your screen.If you click on that, it will bring up the AutoPlay dialog where you can choose what action to perform.Overall, even though you can disable the AutoPlay feature in Windows 7 and higher, it’s not going to harm your computer because no program can be executed without your permission. All AutoPlay does is detect the media and display the options for you.If you’re running Windows XP, on the other hand, it might be a good idea to disable AutoRun because on that operating system, programs can still be run without user consent.
Configure AutoPlay in Windows 7
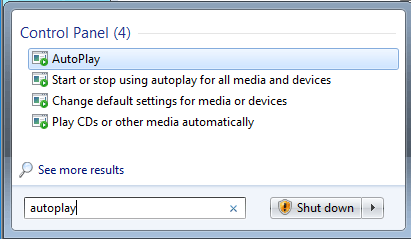
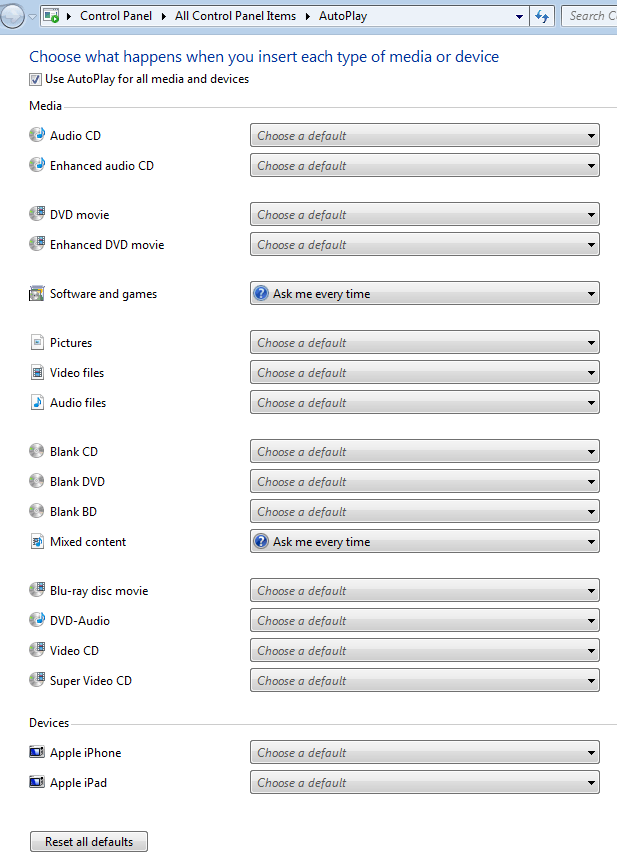
It’s worth noting that in Windows 7 you can change the AutoPlay settings so that they mimic how it works in Windows XP. This is probably not something you would want to do, but it’s an option.To configure AutoPlay, click on Start and type in autoplay. Select the first option at the top.This will bring up an absolutely giant list of items that you can individually configure. Thankfully, this list has been greatly reduced in Windows 10 as you’ll see below. Note that if you want to turn off AutoPlay completely in Windows 7, just uncheck the Use AutoPlay for all media and devices box at the very top.The reason I got the popup dialog when putting in my software CD was because Software and games was set to Ask me every time. You can change this to Install or run program from your media, Open folder to view files, or Take no action.The list of options to choose from will vary depending on what type of media is connected. For example, an audio CD or DVD movie will have the option to played using Windows Media Player. If you connect a device with pictures or videos, you’ll have the option to automatically import the items. In addition to the standard items, if you ever connected other devices to your computer like a smartphone or tablet, those will show up at the very bottom.
Configure AutoPlay in Windows 10
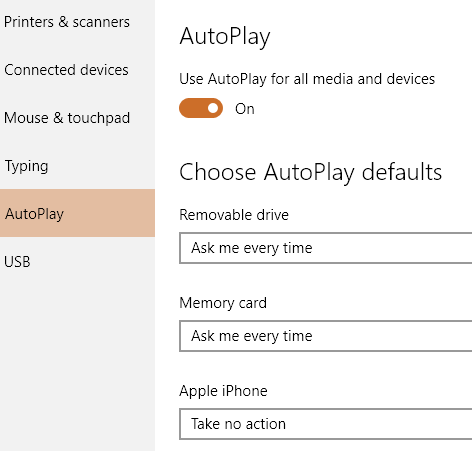
In Windows 10, click on Start and type in AutoPlay to open the AutoPlay Settings dialog. As you can see, there are only two options instead of the numerous in Windows 7. As with Windows 7, if you connected any other external device, those will show up after Removable Drive and Memory Card.The options are pretty much the same in terms of the actions you can take. For me, every time I connected my iPhone, it would try to import them into OneDrive, which I did not want to happen. This is the place where you can turn that off.From my testing, it seems like the options for Memory Card are used when you pop in a DVD or CD.Since most people are using the latest versions of Windows, you really no longer have to worry about anything other than AutoPlay. It’s also a straight-forward process to disable or enable AutoPlay in Windows if you like. If you have any questions, feel free to comment. Enjoy!
