However, if you have a Windows 10 computer, you can also control Windows 10 with your voice. This is more than just a cool feature. It can be a real productivity booster and, for people with certain disabilities, an effective way to take control of their computer.
Control vs Dictation
Do you want to control Windows 10 with your voice or do you simply want it to write down what you say? Voice control is a different function from dictation and some users are often confused between the two concepts. If all you want to do is simply talk and have the computer write what you say, you don’t have to go through all of the effort to set up speech recognition. For example, Google Docs has an excellent voice dictation feature that uses the power of the cloud to turn your speech into text. If you’re a macOS user you can even use Apple’s built-in system.This article is about voice control, rather than voice dictation. In other words, we want to use Windows and accomplish general tasks without the use of a keyboard or mouse.
Choosing The Right Microphone
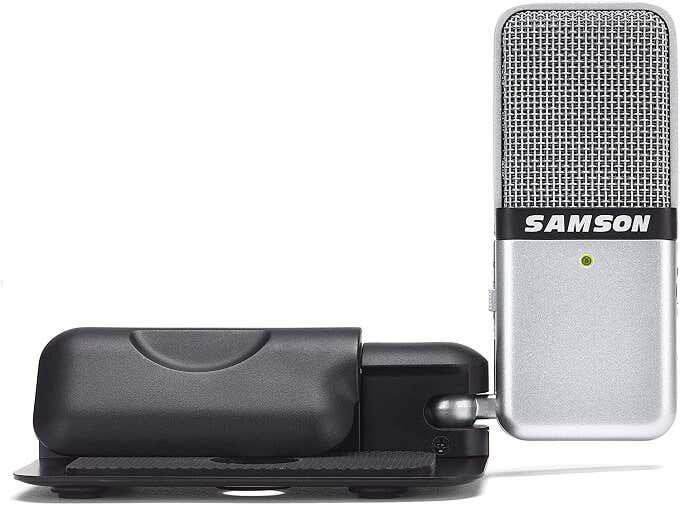
If you want to control Windows 10 with your voice, you’ll need to give the computer some way to hear you. If you’re using a laptop or have a desktop webcam, you already have a basic microphone at hand, but these aren’t always going to work well for voice recognition. Since you’d already have these mics, it can’t hurt to try voice control with them, but a better class of microphone will undoubtedly make things better. We’re using a Samson Go microphone here.
Telling Windows Which Mic To Use
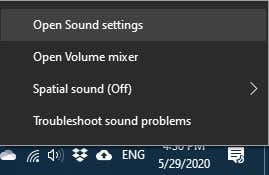
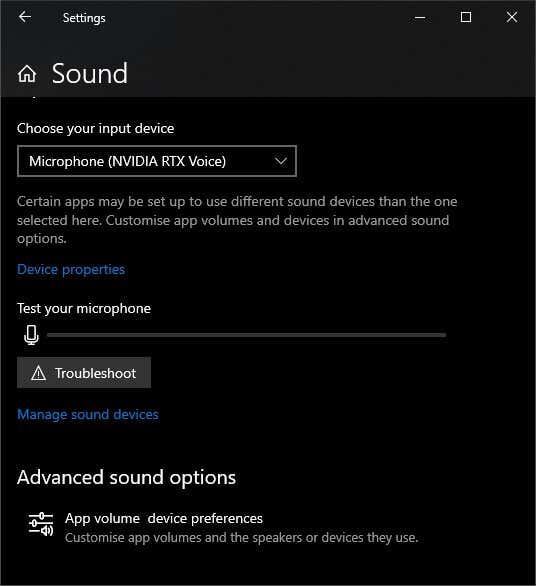
Before you can start giving your computer orders, you need to specify which microphone it should use. Since Windows supports multiple mics at once, it can sometimes choose one as default that’s not optimal for voice control.Once you have your microphone plugged in (assuming it’s an external microphone) it’s pretty easy to choose it as your active recording device. Just right-click on the speaker icon in the system tray. Then click Open Sound Settings. In the Window that pops up,under “input” choose the mic you want the system to use from the dropdown list.
Setting Up Speech Recognition
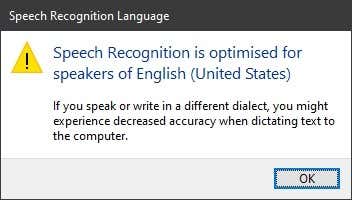
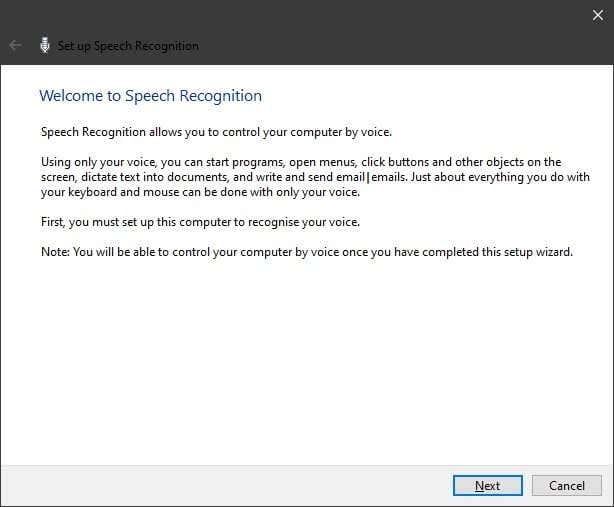
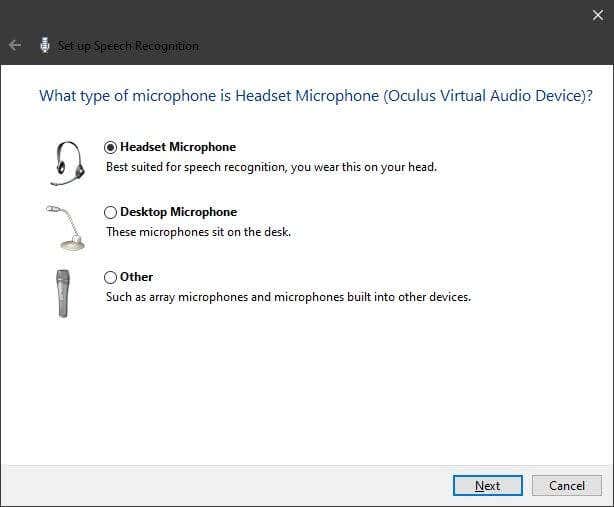
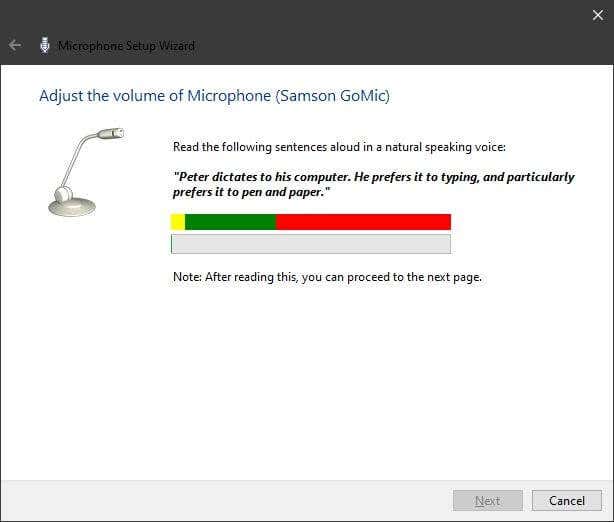
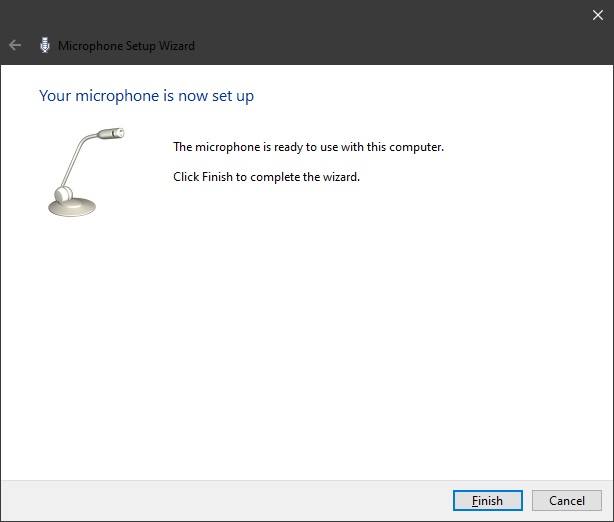
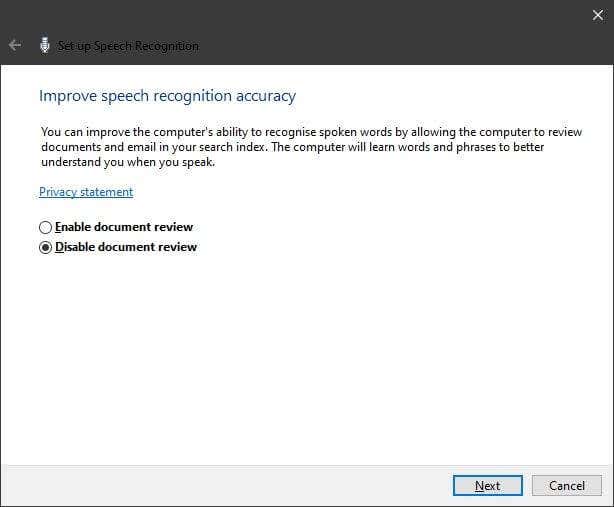
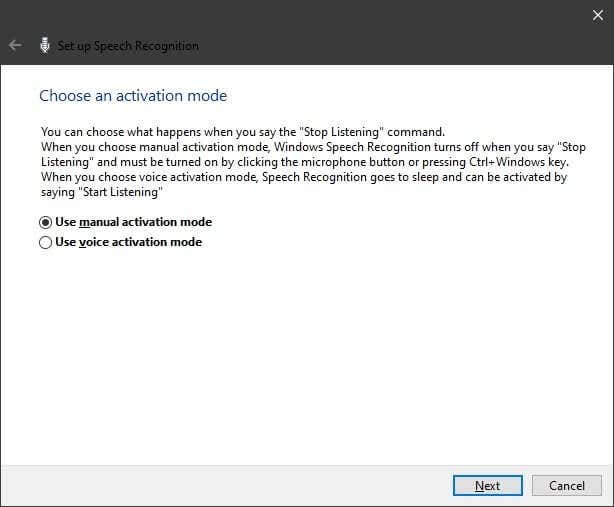
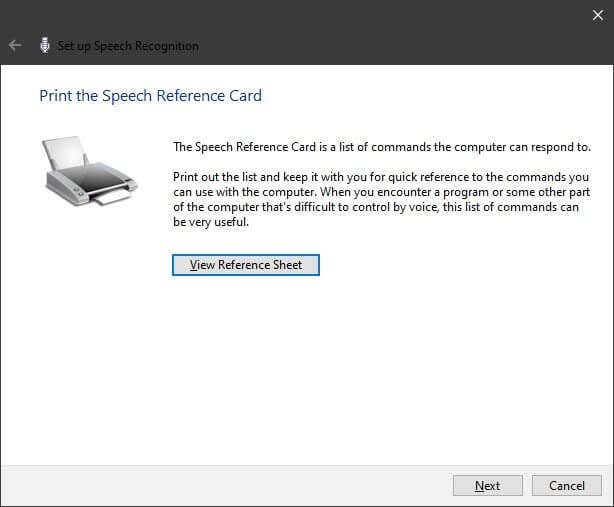
To start the process of activating speech recognition on your Windows 10 computer, open the Start Menu and type Speech Recognition. Then, open it.In the new Window that appears, click on Start Speech Recognition. You may get a warning popup that speech recognition is optimized for US English speakers. Just click OK to dismiss this.Next you’ll see this wizard, which will walk you through the setup process.Next you need to choose which type of microphone you’re using. We’re using a Samson Go mic, which stands on the desktop (or clips to a screen) so we’ll choose Desktop Microphone.The next screen will instruct you on how to set up your mic. It differs for each mic type, so we won’t show that here.Now read the sample text to help Windows calibrate your mic.If the computer understands you well enough, you can click next..Now you’ll see an option to let Windows read through your documents, to get a sense of your vocabulary and phrasing. It’s up to you whether you’d like to do it. If you have documents with irrelevant content or have privacy concerns, feel free to disable this.OK, we’re almost there. Now all you have to do is choose your activation mode.Basically you need to decide whether you want speech recognition to be switched on by speaking a keyword, which means it’s always listening, or through a keyboard shortcut.Now you have an opportunity to print out a reference card with common commands.Honestly, most people won’t need this since you can always look up the commands when you need to, but if you’re preparing the computer for a disabled or less tech-savvy user, this is handy to print out and put up near the computer for reference.Finally, after choosing whether to run speech recognition at startup, you’re given the option to do the tutorial. If you haven’t, you should! For those who have gone through the tutorial, just skip it.When speech recognition is running, you’ll see this on your screen.Activate speech recognition using your chosen activation method, though Windows Key + Ctrl will work as a toggle regardless. As a test, just say Start Menu with the “listening” indicator on. The Start Menu should pop up immediately. Refer to the official reference card for more commands.
What Now?
With the basic setup done, you’re pretty much ready to control your computer using just your voice. You may however want to train Windows more so that voice recognition becomes more accurate. You’ll find the training application under the speech recognition setting you first used to set up voice recognition. The more voice samples WIndows has, the better the system will work. That being said, if you’re getting a lot of missed or misheard commands, take a few minutes to train up your voice recognition system.
Cortana and Third-Party Options
It’s nice that Windows 10 comes with a built-in speech recognition app to control Windows 10 with your voice, but is there a better alternative? The truth is that desktop speech control is a rather niche area. It’s often relegated to being an accessibility feature. So there aren’t that many third-party options.Interestingly, Windows 10 has a completely separate voice activated system in the form of Cortana. As a voice assistant, Cortana isn’t designed to be a voice-based replacement for the keyboard and mouse, but there is quite a bit of overlap between the two systems. Have a look at what Cortana can do, it might be better suited to your specific needs than the general-purpose speech recognition system. As for third-party voice control, there’s not much out there. The biggest name at the moment is Dragon Speech Recognition from Nuance. They were early pioneers of computer speech recognition and probably have the most experience of any company in the field. This is an option worth exploring if you have complex or mission-critical speech recognition needs.
