After using several online tools, the one method I prefer for creating simple surveys to send to friends or family is to use Google Forms. It allows you to create completely custom surveys or forms, send them out to anyone and track all their responses in one place. In this article, I’ll show you how you can use Google Docs to create your own surveys easily.Before we get started, it should be noted that there are two ways to create a form in Google Docs. The first way is to create a new form from Google Drive and the second way, which is better in my opinion, is to create the form from Google Sheets, which will link the spreadsheet to the form and load all the data into the sheet for later analysis.
Starting a Form
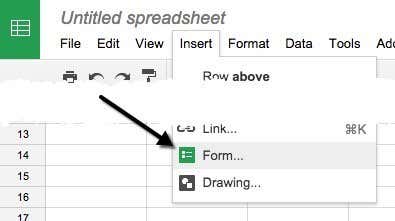
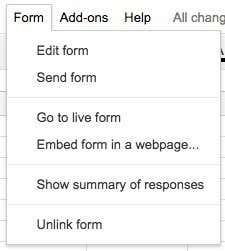
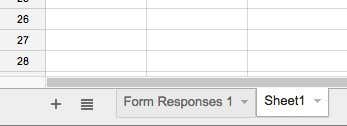
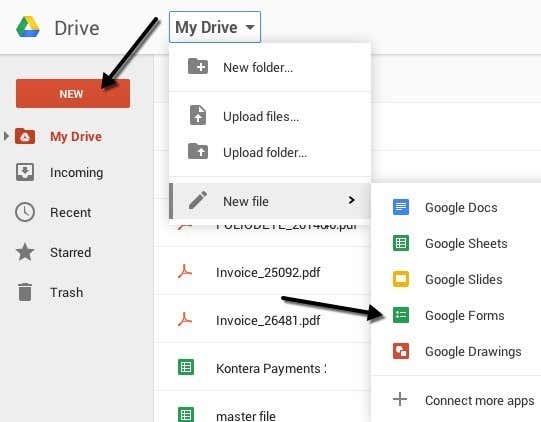
To create a form from Google Sheets, go ahead and click on the Insert tab and then click on Form.A new tab will open with the form dashboard. Here you can start adding questions, etc, which I will explain further down. You’ll notice that when you go back to your spreadsheet, you’ll see a message that a new form has been created. Also, if you click on the Form tab, you’ll be able to edit the form, send it, see the live form, etc.You’ll also see a new sheet in the spreadsheet called Form Responses, which is where all the responses for each question will be saved.To create a form from Google Drive, either click the big New button at the left or click on My Drive, then New file and then click on Google Forms.
Creating a Survey Form
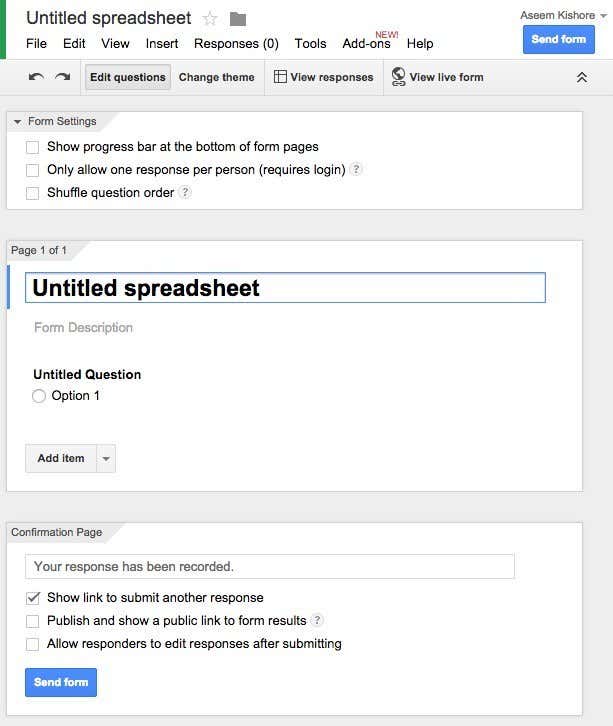
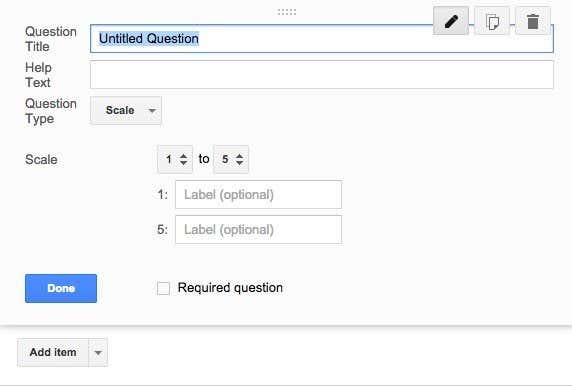
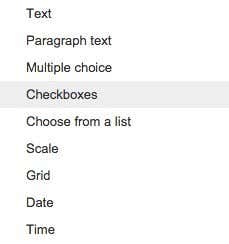
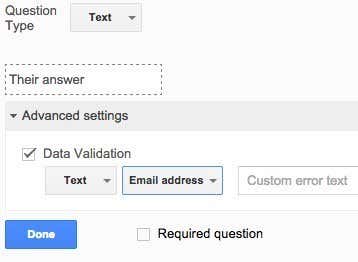
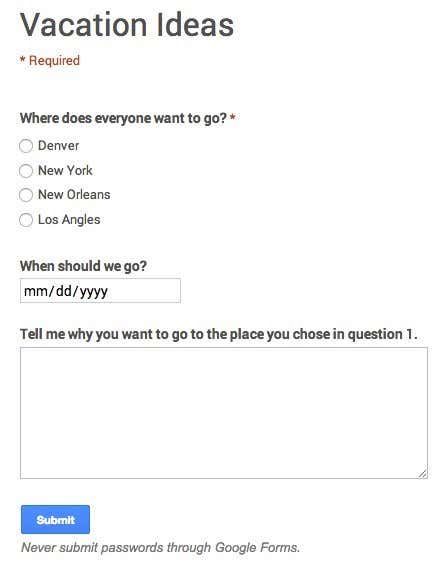
Now for the fun part: creating our form! Here’s what the new form screen looks like below. What I like about it is that it’s very intuitive to use and figure out.By default you are in the Edit questions mode, but you can also switch to Change theme, View responses or View live form using the buttons across the top. There are lots of themes to choose from, so you can make your survey look professional, silly or whatever you like.The next section is Form Settings where have a progress bar appear so users can see how much of the survey they have completed. You can also force it so that there is only one response per user and you can shuffle the questions if desired. The first option is useful if you are giving a survey to your employees or to your students and you need to ensure that the responses are accurate and can be linked to a specific person.Before we get to the middle section, let’s skip to the bottom where is says Confirmation Page. These are the options for the final page the users will see after they finish the survey. You can provide them with a link to submit another response, publish a link to the form results for everyone to see and allow responders to edit their responses after they have submitted the form.The middle section is actually the where you create the form. By default, it you created the form from a spreadsheet, it will be given the same name, but you can change it. Below that you can give it a description and below that are the actual questions. By default the first question is a multiple choice option. Go ahead and click on the question and it’ll expand out so that you can customize the question.Give your question a title and then add some help text if you want to clarify something or add some more information to the question. The question type is the cool part! You can choose from a bunch of different options like Text, Paragraph text, Multiple choice, Checkboxes, Choose from a list, Scale, Grid, Date and Time.Text is really nifty because you can use it to have users enter information like email addresses, phone numbers, etc and then actually validate the data to make sure it complies.After you create your own, go ahead and click the View live form button to see what it looks like. Here’s my fake vacation survey:Go ahead and close that tab and then click the Send form button and either send it to your Google Circles or type in email addresses for the people you want to include in the survey. That’s about it! It’s so simple that you can create a form and send it out in less than half an hour. Enjoy!

