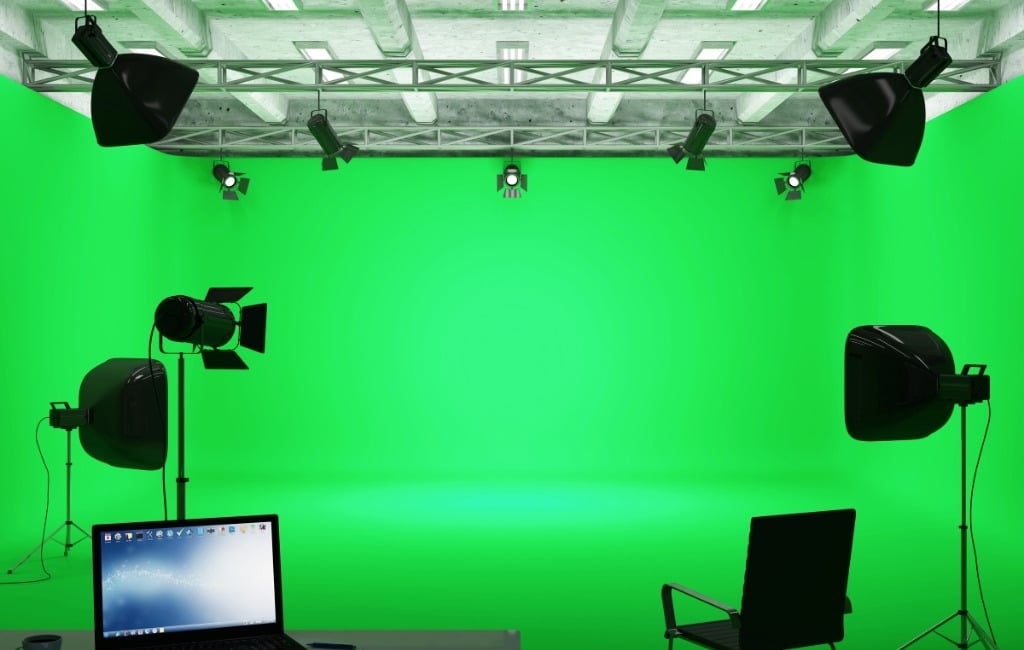
The “green” of the green screen is identified by a video editing program, and you can then replace it with another video or image. This is a popular technique, widely used in media from local weather forecasts, to music videos, to Hollywood blockbuster films. Adobe Premiere Pro, as a video editing program, does have the ability to edit green screen footage through a method called chroma keying. In Premiere you can use the Ultra Key effect in order to chroma key your footage. Follow this tutorial and you’ll be able to seamlessly incorporate a green screen effect in your videos.
How to Set Up Your Footage for a Chroma Key
Before applying the Ultra Key effect, you’ll want to clean up your green screen footage to make the final product look better. You will be applying a matte to your video so that you can get rid of the areas you don’t need for chroma keying. Once you’ve trimmed the video, we’ll move on to applying the Ultra Key and Chroma key to your video.
How to Chroma Key In Premiere Pro Video Editor
Go back to the Effects tab after you’ve applied the matte to find the Ultra Key effect. Follow the steps below to apply it. There are a few different ways you can fine-tune the edges of your subject so it fits into the background naturally. First, in the Output dropdown, select the Alpha channel. This will change your footage to black and white so you can more easily see what areas need some work. If the white in the Alpha channel looks more translucent, that means the selected color may be more visible there. You can also change the Setting dropdown to Aggressive. This will select more range of the color you chose with the eyedropper. You’ll also want to look underneath the Matte Cleanup section. Here you’ll see some effects called Choke and Soften. Choke will close in the edges of your subject with hard lines. Soften also closes in edges, but with a greater feathering effect.
Adding in a Background for Your Green Screen
Now you can do the fun part of adding in the background of your choice into your video. This step is simple to do, and can help you see if you need to change any part of your key further for a natural effect. You’ll be able to see how well your subject fits in the new background footage now, and make necessary changes using the tools outlined above.
Tips for Editing Your Chroma Key
There are a few more tools that will be useful for cleaning up your key so that it blends well into your background or effect.
Transparency
You can find this setting under Matte Generation. Lowering the value of this setting will harden and clean up the edges of your subject, while raising it will soften out the edges. This setting is good for refining difficult edges such as hair or fur, fibers, or other complex subjects.
Pedestal
Changing the Pedestal value determines how much of the background is visible around the subject. Lowering this value will increase that effect, and raising it will create much crisper edges.
Shadow
This value will change the visible “shadow” effect around the edges of your subject, making the edges softer. This is good for making your subject appear more natural in the added surroundings.
Create Mind-Blowing Effects With Green Screen Video in Premiere
For video editing beginners, learning how to utilize a Chroma key effect on a green screen clip is an important skill to master. Green screen editing can be used in a variety of formats and can really help add effects you may not be able to otherwise. No matter what visual effects or video backgrounds you wish to add, green screen work can be done easily using Adobe Premiere Pro. If you’re a complete beginner on Adobe Premiere, this is a fundamental skill to master.