With Google Forms, you not only get to add a form to your site faster, but you also get more features. For instance, you can insert media files, import questions, integrate easily with WordPress and email, share on more platforms, and enjoy additional storage in Google Drive.Additionally, Google Forms allows you to collaborate with your teammates, and track all results from your forms from different channels, not just your site.Here’s how you can quickly embed Google Forms on your website in just a few simple steps.
How to Embed Google Forms on Your Website
To get started, you’ll need a Google Form and its embed code, which you’ll add to the page or post where you want the form to appear on your site.
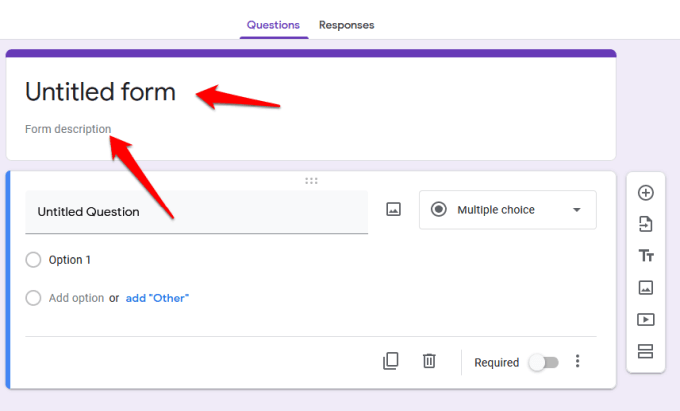
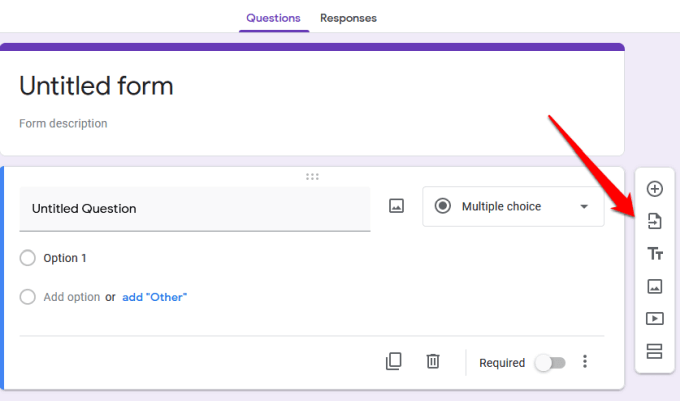
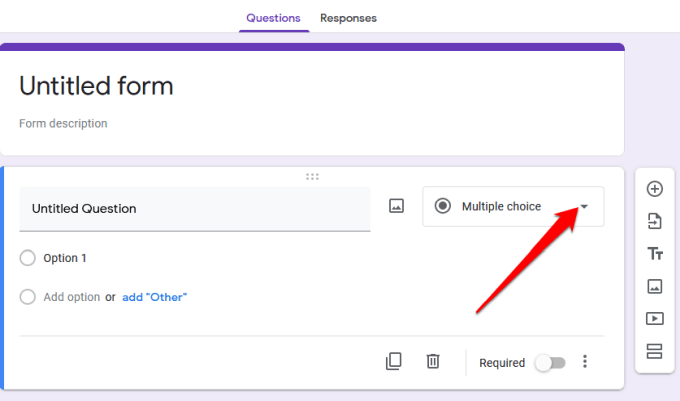
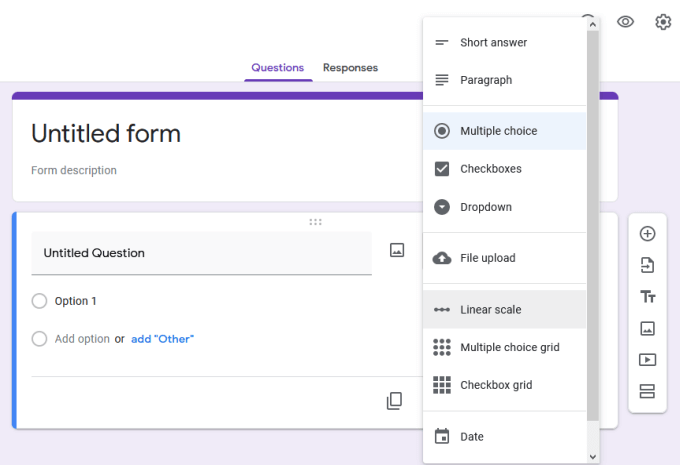
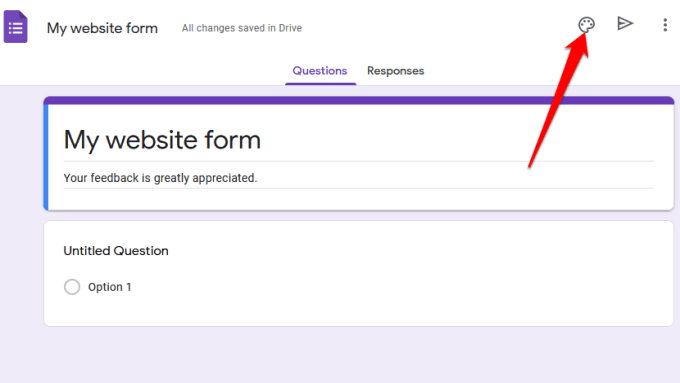
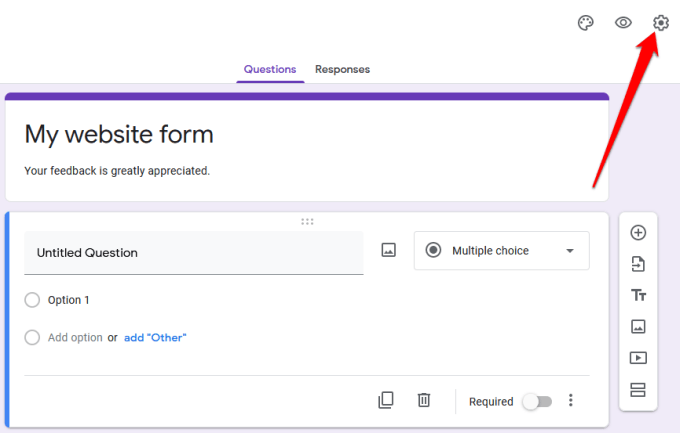
Create a Google Form
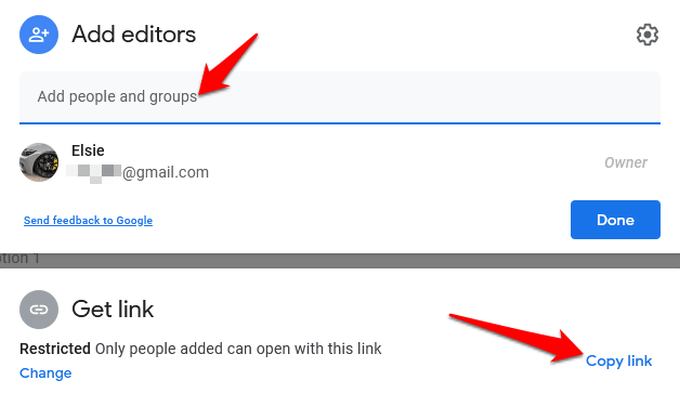
Note: Selecting Add Collaborators specifically allows you to invite members of your team to work on the form. You can send invites using the link-sharing option or type in their email addresses and they’ll receive an email notification with the invite.
Embed Your Google Form on Your Website
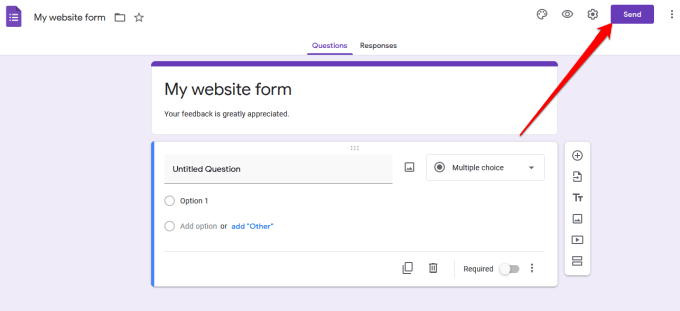
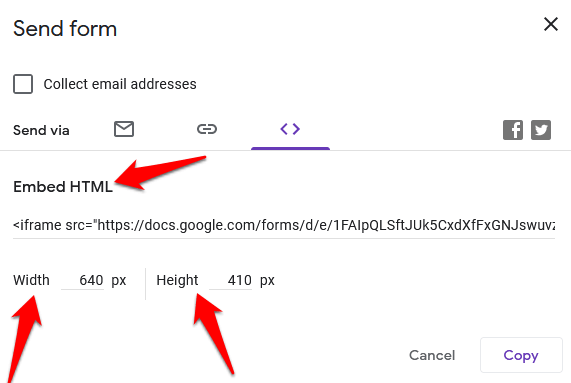
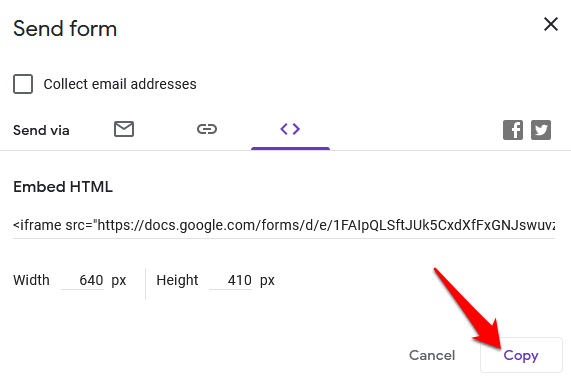
Now that you have your Google Form ready, the next step is to add it to your website. To do this, you need to get the form’s embed code, which is a unique code snippet that you’ll add to the page or post where you want the form to appear.
Add Your Google Form’s Embed Code to Your Website
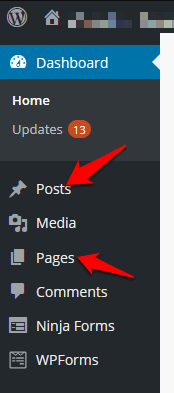
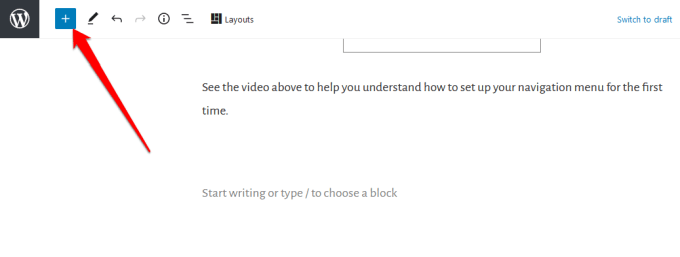
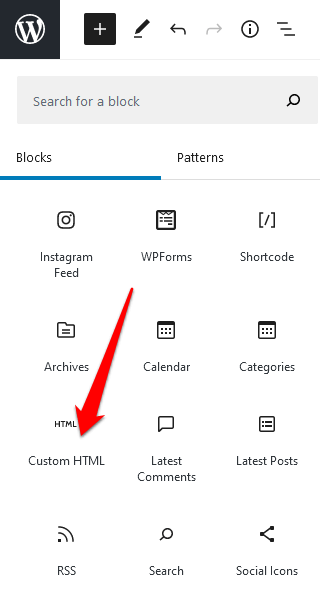
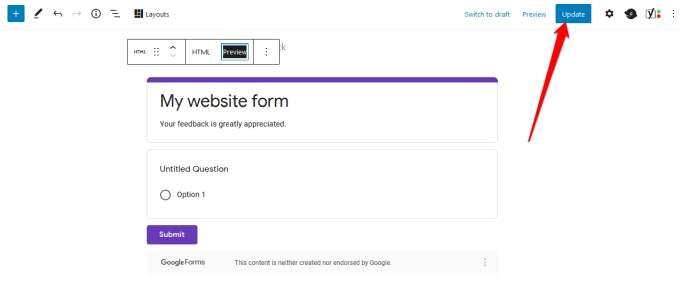
Now that you have your embed code, sign in to your site’s admin dashboard and go to the page or post where you want to embed the form.Note: Instructions in this guide apply to WordPress using the Gutenberg/Block Editor.
Craft the Perfect Form for Your Site
Whether you want to add a survey to your site, an order form to your online store, event registration, or contact form, Google Forms can help you create the perfect forms for your website. Check out our guides on how to embed Google Calendar on your website and how to create your own coupon popup in WordPress for added functionality and better user experience.Were you able to create and embed Google Forms on your website using this guide? Share with us in the comments.



![]()
![]()
