In most cases, you can fix the Windows 10 memory leak issues yourself. You can close resource-intensive apps, disable certain startup apps, and perform similar tasks to fix a memory leak.
Restart Your PC
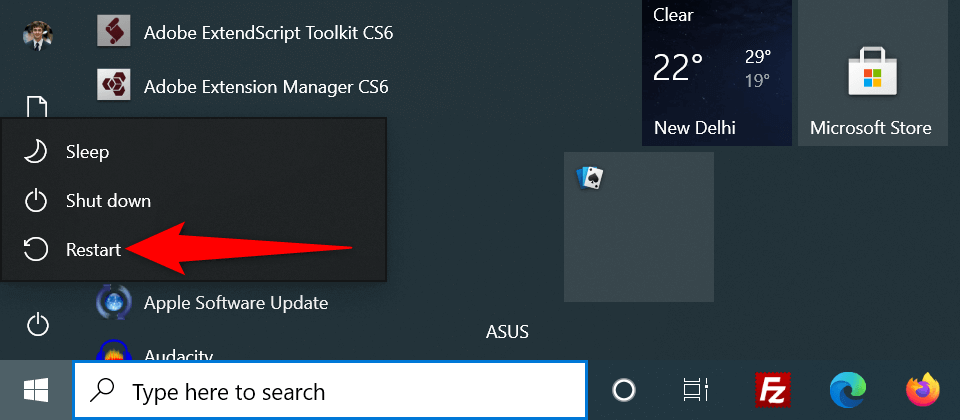
An easy way to clear the contents of your PC’s memory is to restart your PC. This should fix the memory leak issue in most cases, at least temporarily, until you can find a permanent fix.
Use Windows Memory Diagnostic to Fix a Windows 10 Memory Leak
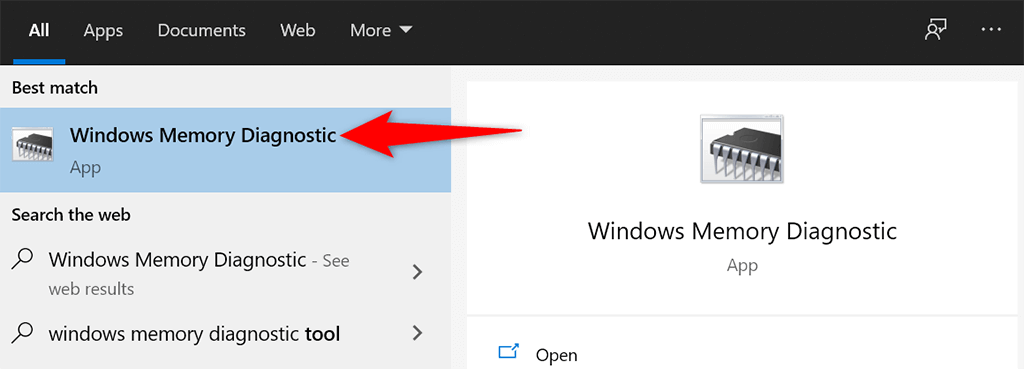
Windows 10 comes preloaded with a tool called Windows Memory Diagnostic. You can use this tool to find and fix issues with your PC’s RAM.Since the tool automatically detects the issue with your memory, you don’t have to be computer-savvy to use the tool.
Close the Problematic App to Resolve the Windows 10 Memory Leak Issue
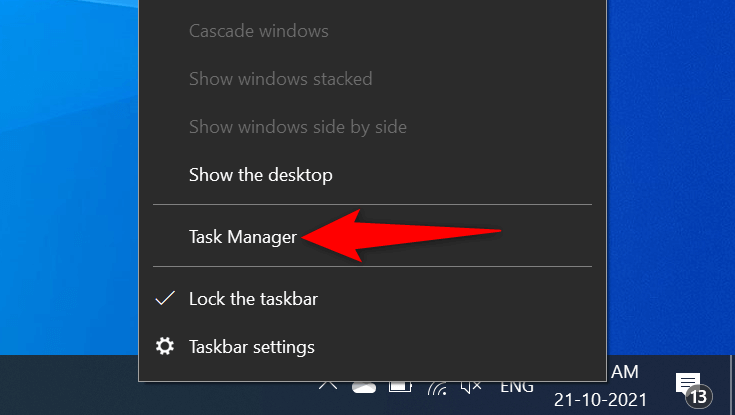
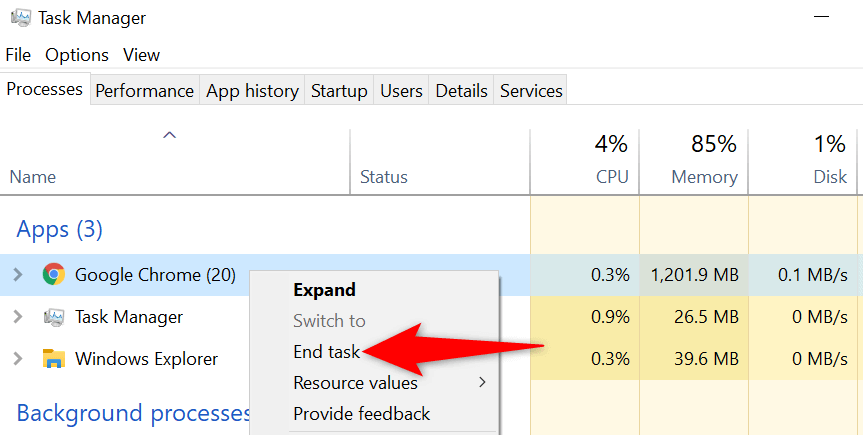
Most Windows 10 memory leak issues occur due to a problematic app that you’ve installed on your system. This app usually eats up all your RAM and leaves no memory for other apps to use.In this case, you can fix the issue by closing the problematic app on your PC. Task Manager should tell you what app is using what amount of RAM. If you find an app using an unusual amount of memory, that app might be the culprit.Repeat the above process for each app that uses a lot of memory. If your Windows 10 memory leak issue gets resolved by doing that, you know what apps are causing the problem. You can then manually uninstall those apps on your computer.
Disable Startup Programs
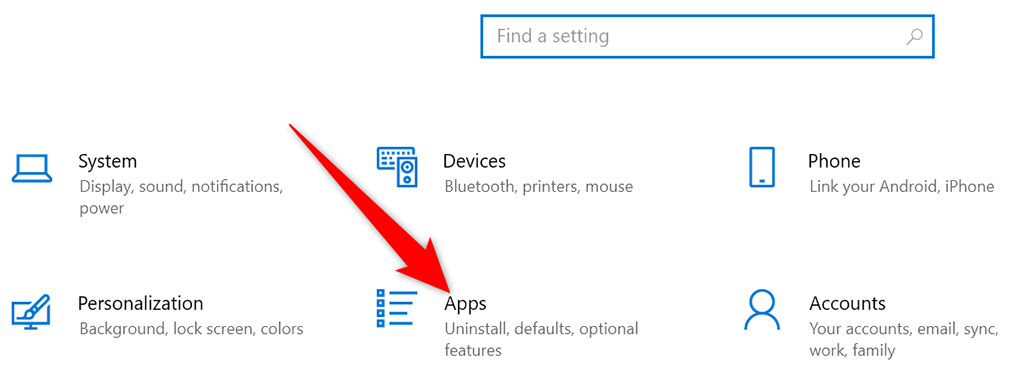
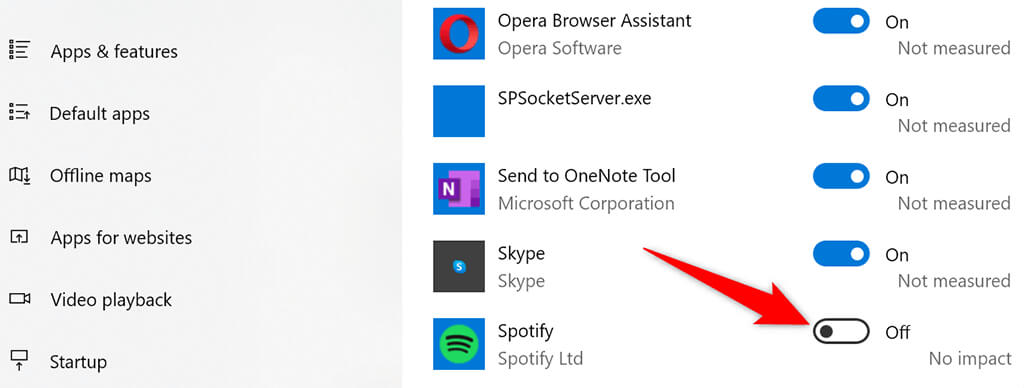
If your PC starts showing signs of a memory leak as soon as you turn on the PC, a startup app might be the culprit. These apps automatically launch at your PC’s boot.In this case, you can remove the problematic app from the startup apps list. The app will no longer automatically open when you turn on your computer.
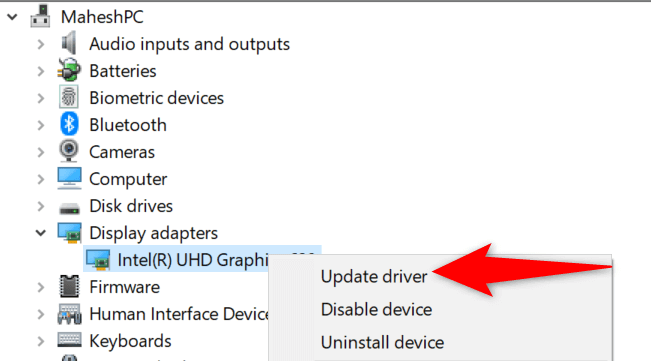
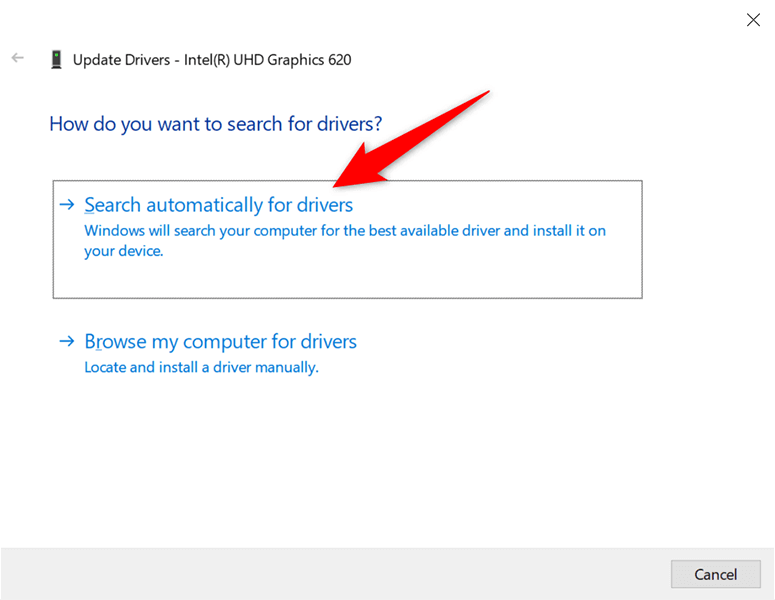
Update Your Device Drivers
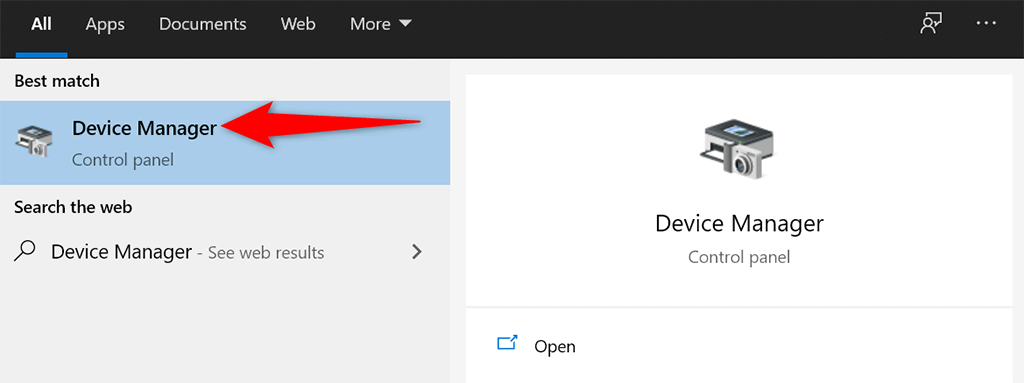
Outdated device drivers cause various issues, including Windows 10 memory leak issues. If this is the case with your PC, you should get all your drivers updated to the latest versions.It’s free and easy to update drivers on Windows 10.If you use an Nvidia graphics card, you can also manually update your drivers.
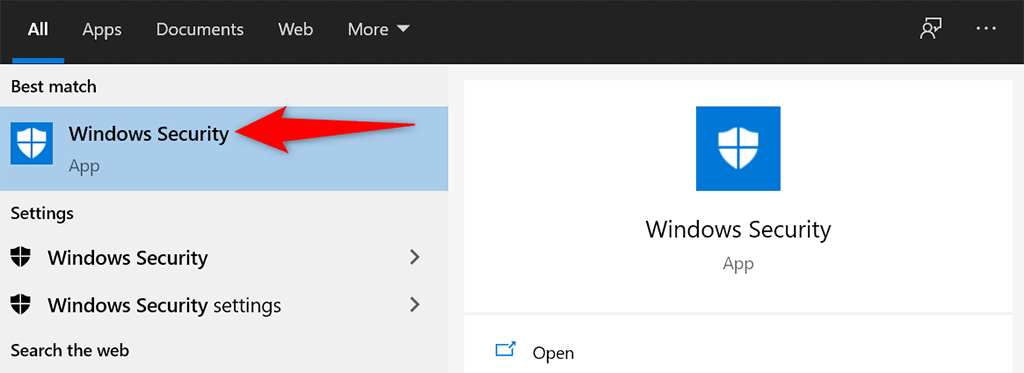
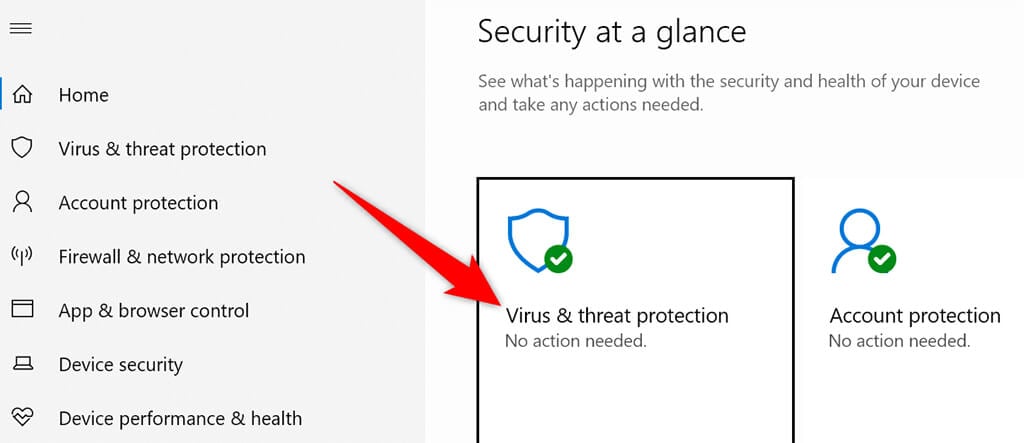
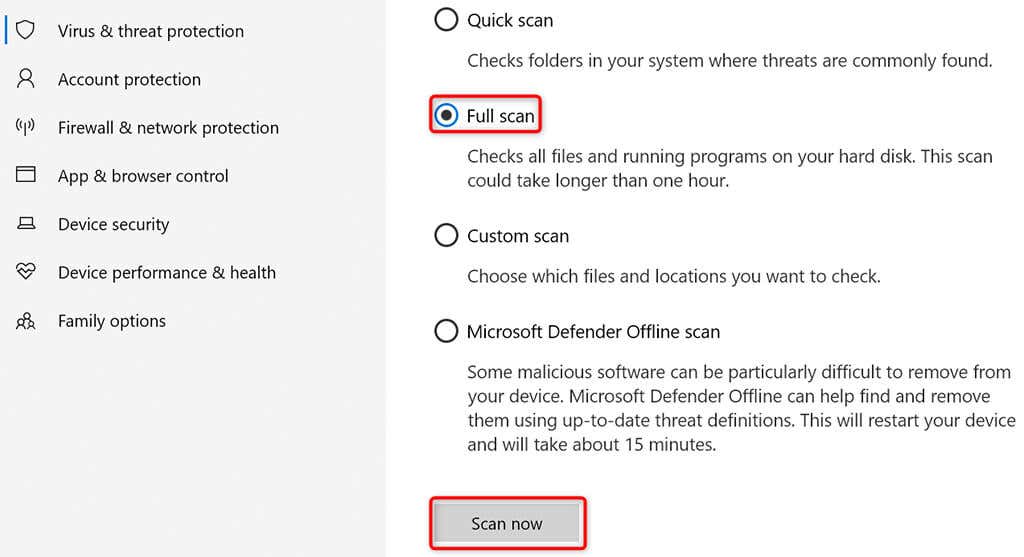
Run an Antivirus Scan to Get Around the Windows 10 Memory Leak Problem
Sometimes, a virus or malware ends up using your entire memory, which leads to a Windows 10 memory leak problem. In these cases, use your PC’s built-in antivirus tool to find and remove any viruses from your computer.If you have a third-party antivirus installed on your computer, you can use that, too.
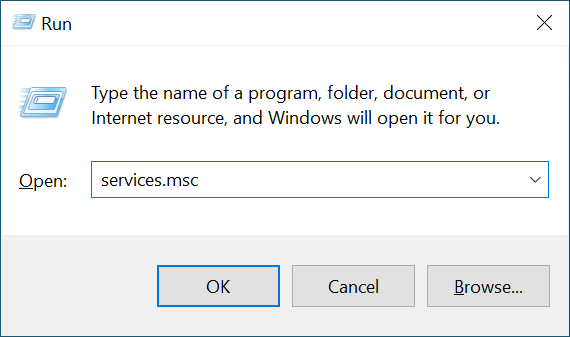
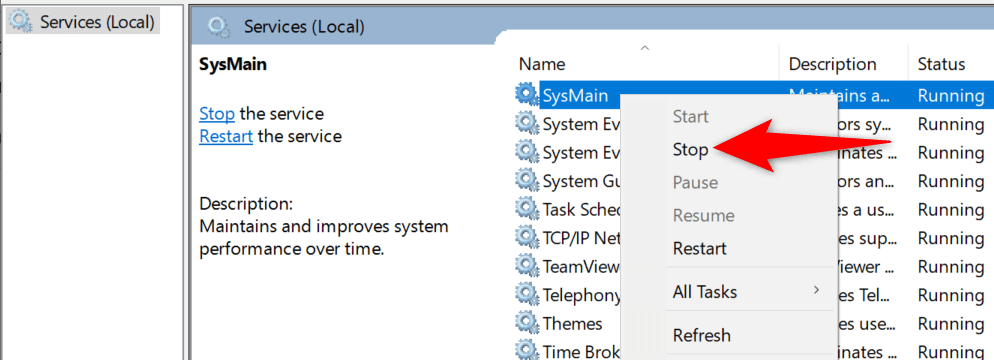
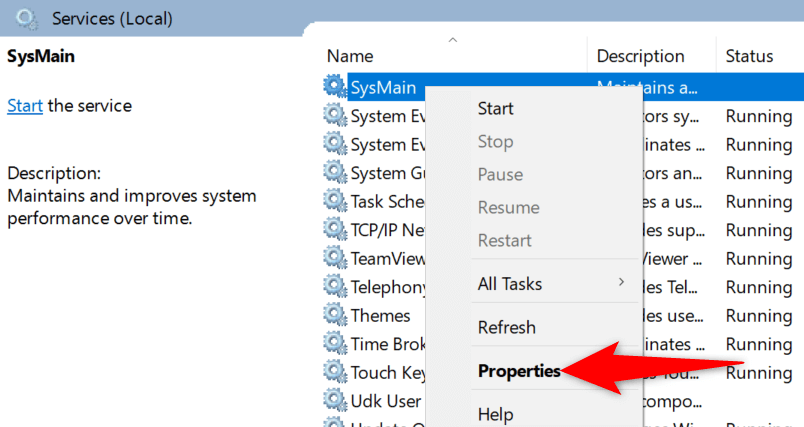
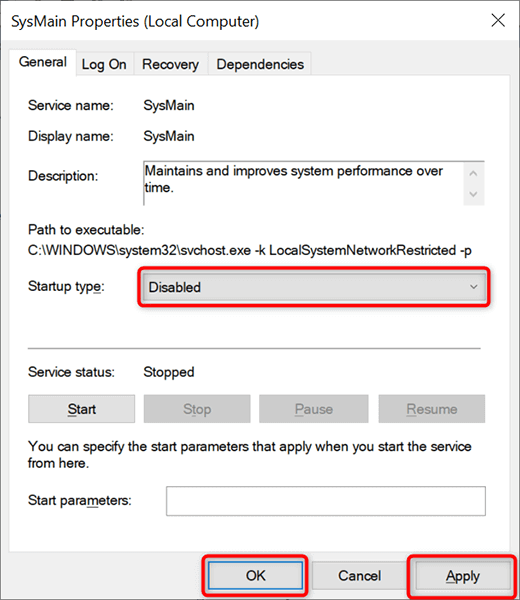
Disable Sysmain on Windows 10
Sysmain is a feature in Windows 10 that automatically preloads your frequently used apps in the RAM. This makes launching those apps faster.But, if you ever experience any RAM-related issues, it’s worth turning off that feature to see if that makes any difference. You can always re-enable the feature later.To turn off Sysmain:
Your Windows 10 Memory Leak Problem Should Now Be Fixed
Memory leak issues are pretty common on Windows PCs. If you ever experience this problem on your machine, you now know what to do to get around it. In a nutshell, stay away from any untrusted apps, and you should be just fine.