Imagine creating a round badge or logo, and you want to type text around a circular path. You might want the text at the bottom of the circle to flip to the opposite side of the path, so it’s easily legible. In this Illustrator tutorial, we’ll teach you how to flip text on a path in Illustrator, so the text isn’t upside down.
How to Flip Type on a Path in Illustrator
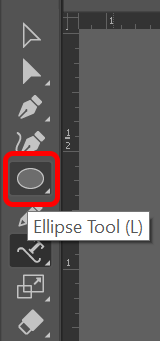
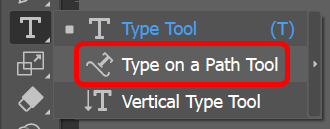
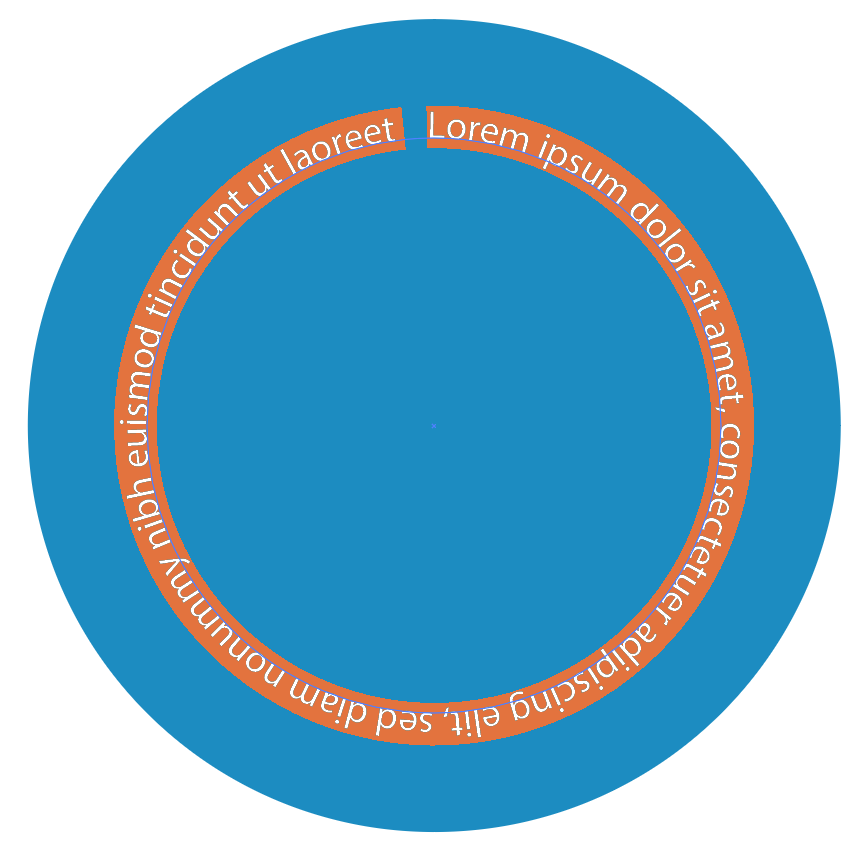
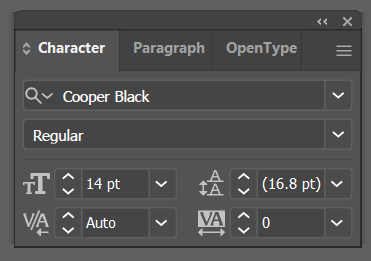
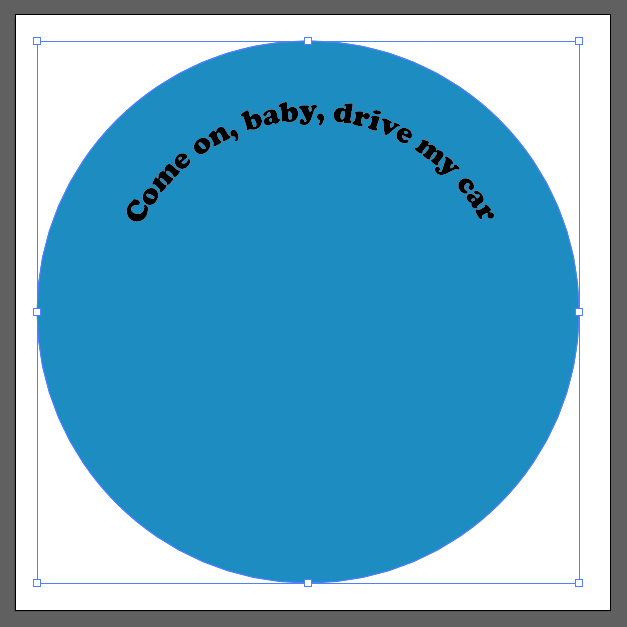
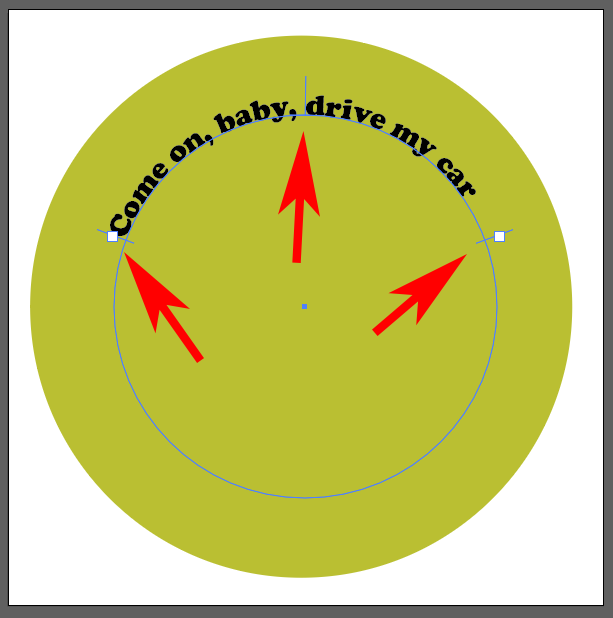
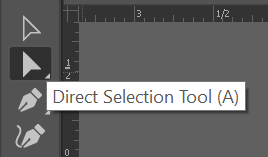
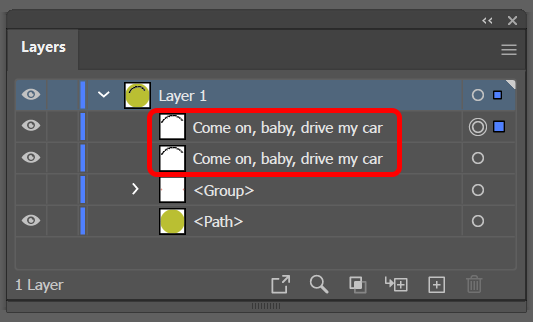
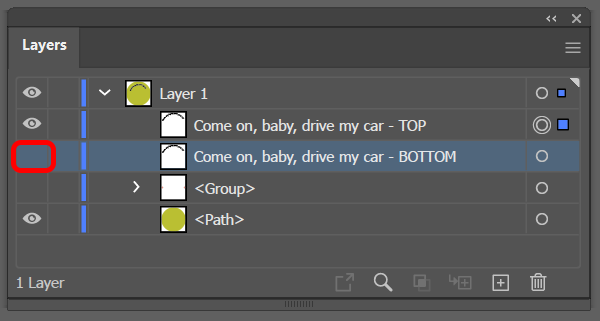
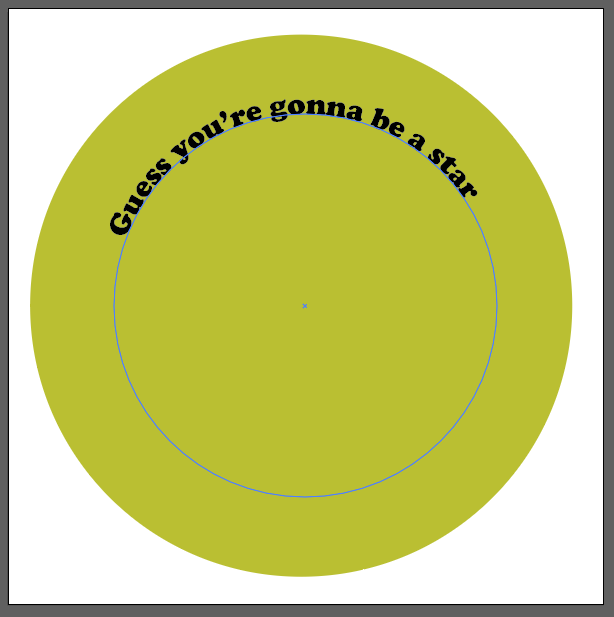
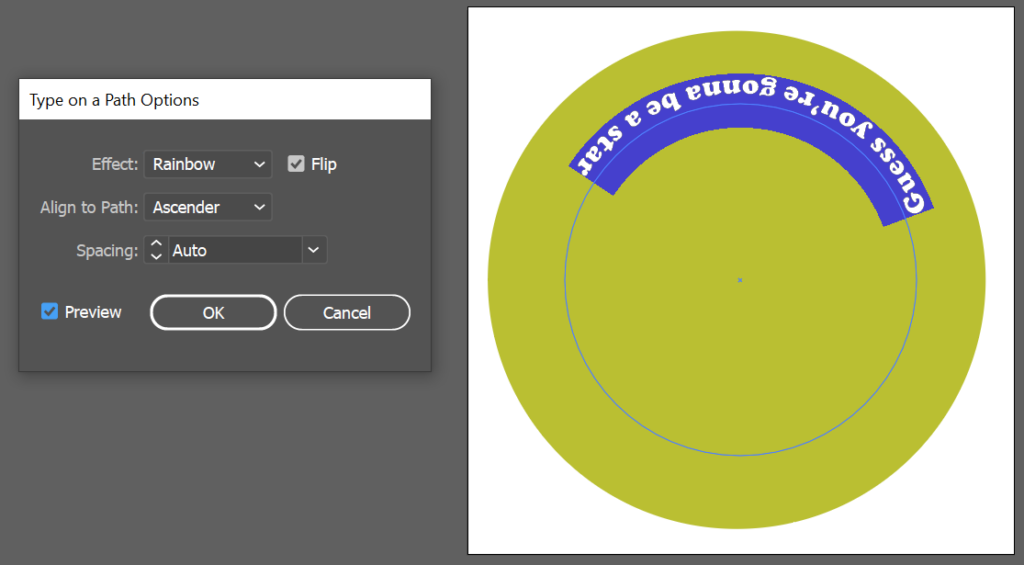
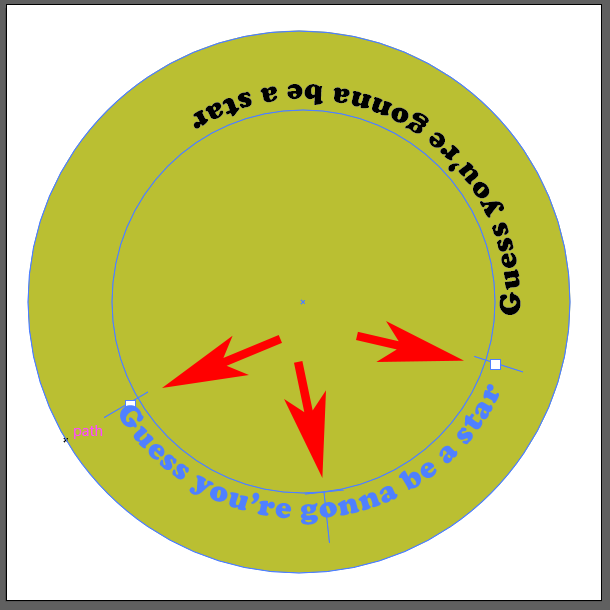
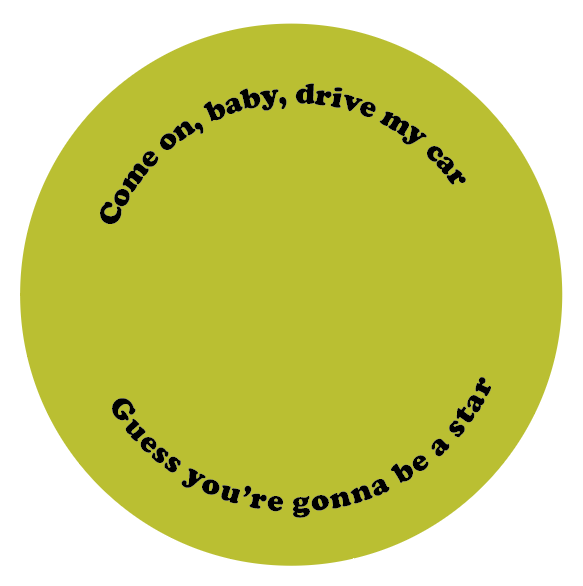
Whether using Adobe Illustrator CC or an earlier version of Illustrator, a path is simply one (or more!) straight or curved lines. A path can be open or closed, depending on whether the endpoints are joined together.We’ll start with a simple circle design. We’ll create a circular path, and then we’ll use the type tool to type text along that path. Finally, we’ll flip some of the text, so it appears right side up along the bottom of the circle.Note: For the Align to Path options, choosing Baseline will put the text right on the path. Ascender puts the text on the outside of the circle. Descender will locate the text on the inside of the circle. Lastly, Center will place the text right at the center of the path.That’s how you add and flip text on a path in Adobe Illustrator.
Insert a Symbol in Your Design
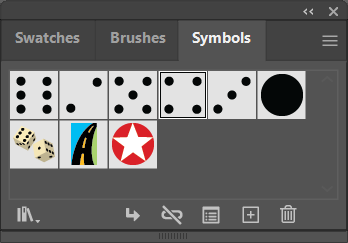
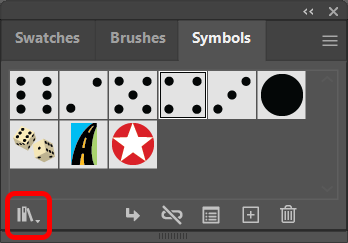
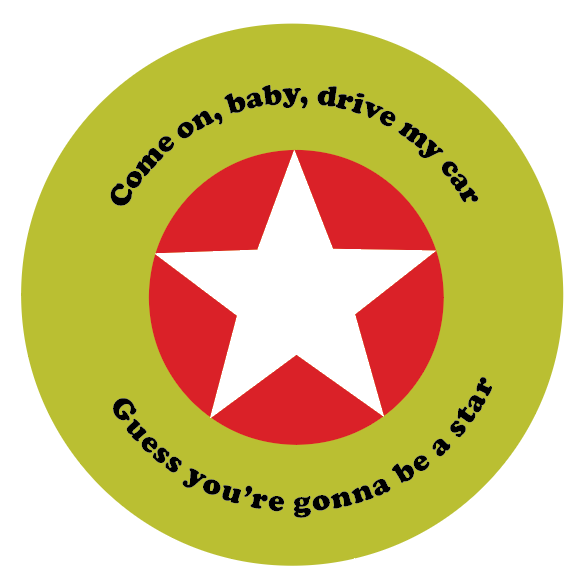
An easy way to add an extra element or two to a design in Adobe Illustrator is to insert something from the Symbols panel. Follow the steps below to add a symbol to your design. Adobe apps have all kinds of hidden features like Symbols that you can only take advantage of if you know they’re there. We’ve got tutorials on how to achieve many effects in Adobe Photoshop, like how to add a border to images, shapes, and text or use masks to hide layers, or even how to do a face swap.And if you’re beginning to use Adobe Indesign, you’ll want to check out our tutorials on how to link text boxes or flow text around an image.
