Overall, the feature works fairly well, though there are some strange quirks that I hope get ironed out over the next few iOS releases. In this article, I’m going to walk you through the steps for creating a locked note in iOS and how to use them properly.
How Locked Notes Works in iOS
Before we get into the actual process, it’s important to go over how locked notes really work in iOS. Firstly, all notes will be locked using a single password and that is a requirement. If you want to create locked notes, you have to supply a password.This password will be used for all your locked notes. You can’t easily create different passwords for different notes. It’s possible to have different passwords on different notes, but it’s not how the feature is supposed to work and I’ll explain below how this situation can occur.Secondly, notes can also be locked using Touch ID. Any fingerprint that can unlock your phone will be able to unlock your notes if you enable Touch ID for locked notes. If you use Touch ID, you don’t have to enter the password, though you can if you like. It’s pretty much the same way you can use Touch ID on your lock screen or enter your passcode.Lastly, there are a few strange quirks. For example, even if you lock a note, the title of the note is visible in the Notes app. So when creating a secure note, make sure the first line is something that you don’t mind others being able to see.The other odd quirk is that you can delete a locked note without any authentication. So if someone get access to your phone, even though they can’t view the note, they can delete it! In my opinion, it should require the same authentication for deleting locked notes as it does for viewing.
How to Create a Locked Note
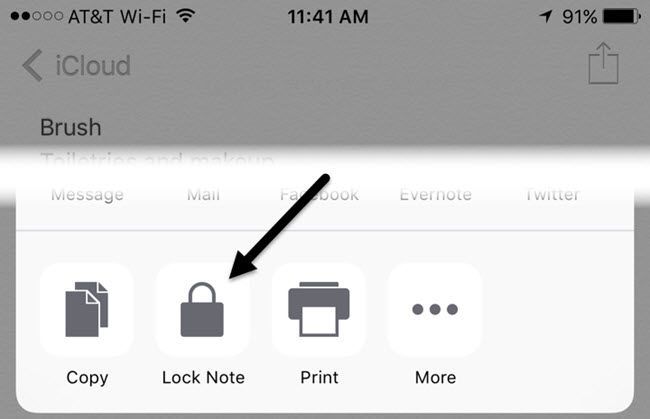
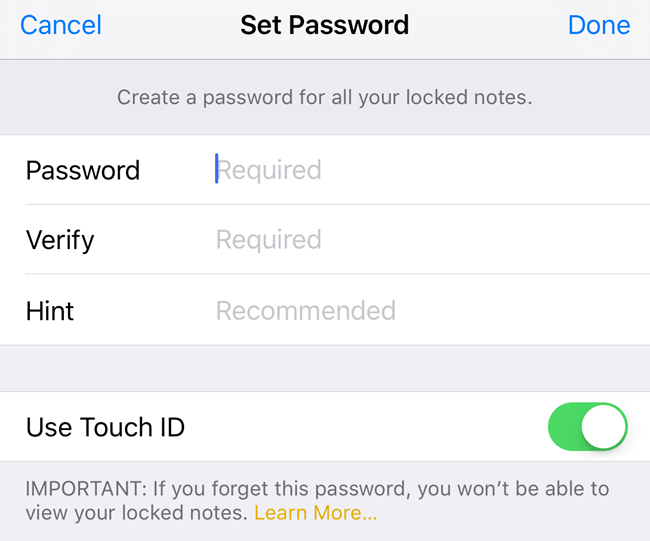
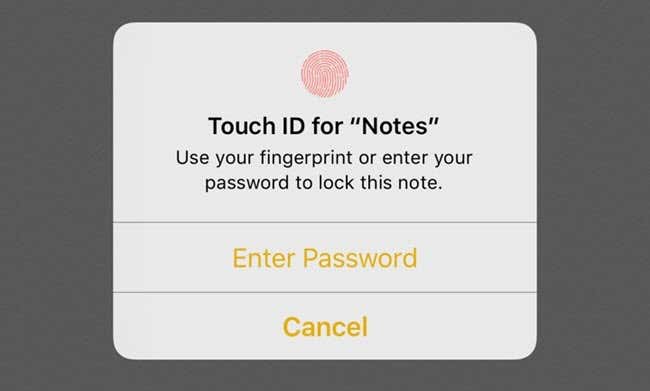
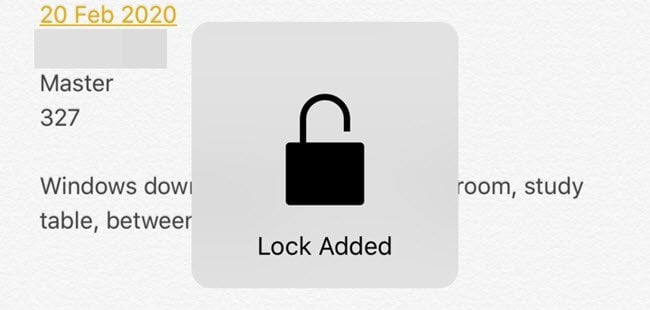
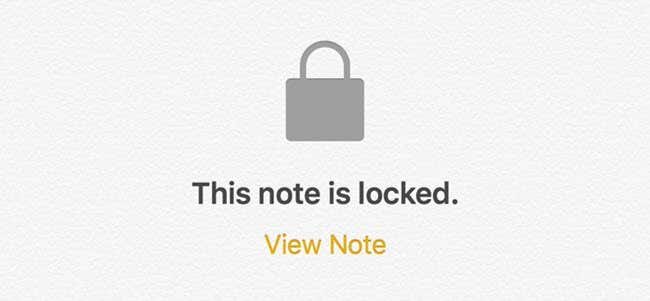
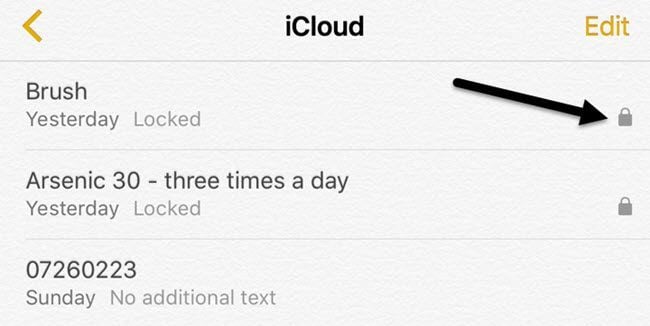
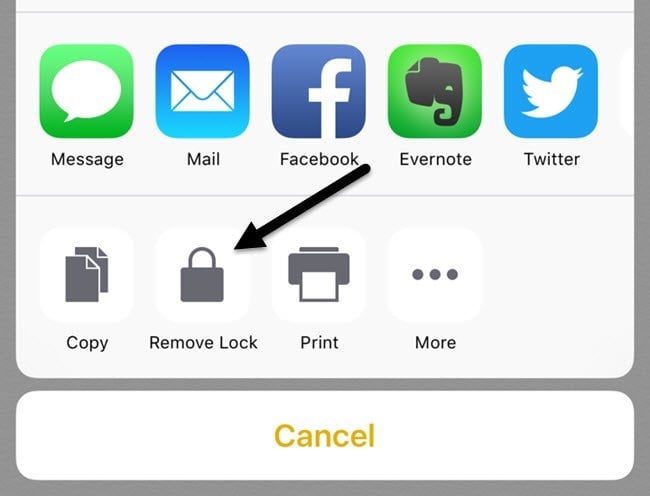
In order to create a locked note in iOS, open your Notes app, create a new note or open an existing one and then tap on the Share button at the top.On the popup overlay, you’ll see several buttons. One of them should be Lock Note.Now the next screen you see will depend on whether or not you already have configured a password for Notes in the settings. If you haven’t, you’ll get the following screen where you need to enter a password and choose whether or not you want to enable Touch ID for locking and unlocking notes.If you have already setup your password, then you’ll simply get a popup asking to use Touch ID or enter your password to lock the note.After either of the screens above, you’ll see a lock animation appear on your note that says Lock Added.This simply means that a lock has been added to the note, but the note is not fully locked yet. If you look up at the top of the note, you’ll see a little lock icon that is in the open position.In order to fully lock the note, you have to tap on that icon. At this point, the contents will be hidden and you’ll see a message saying This Note is Locked.If you go back to the list of all your notes, you’ll see a small lock icon next to the notes that have been locked. It’s worth noting that when you unlock one note, all the other notes get unlocked too. When you lock one note, all the other notes get locked too.As you can see, the titles of the locked notes are still visible, as I had mentioned earlier. To see the contents of a locked note, just tap on it and then tap on the lock icon at the top right or tap on View Note under the This note is locked message. You’ll either have to use Touch ID if that is enabled or enter the password.Finally, once the note is unlocked, but it still has a lock added it to, you can remove the lock by tapping the share button again. Instead of the Lock Note button, you’ll see a Remove Lock button.
Change Password or Reset Password
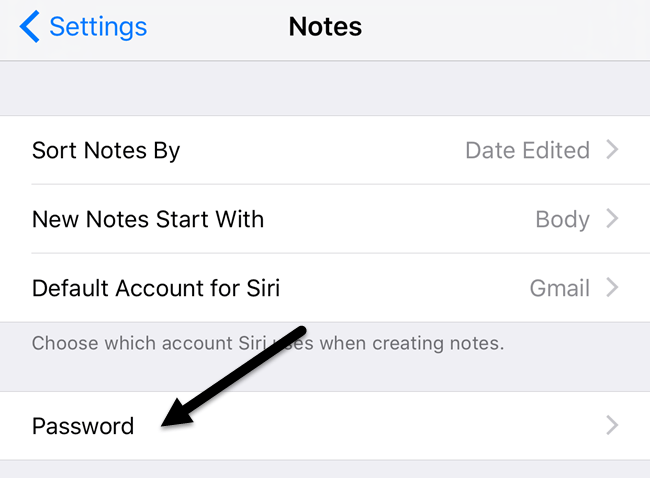
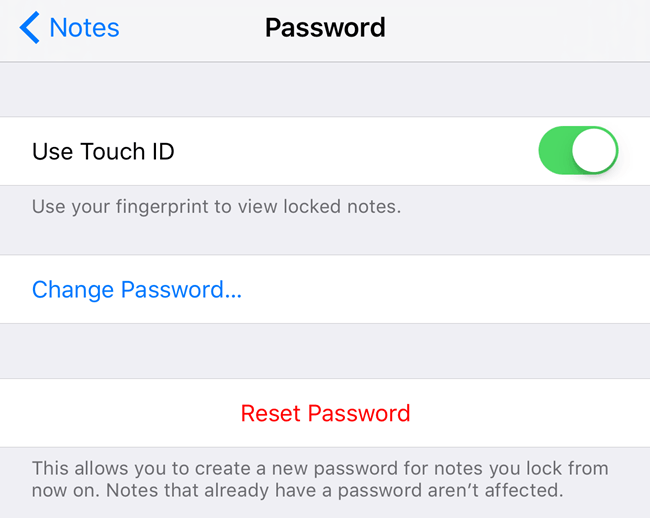
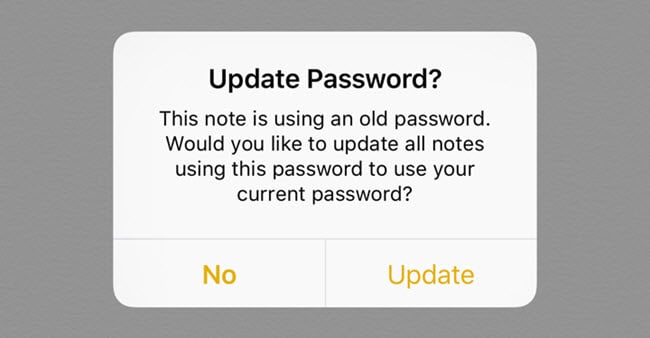
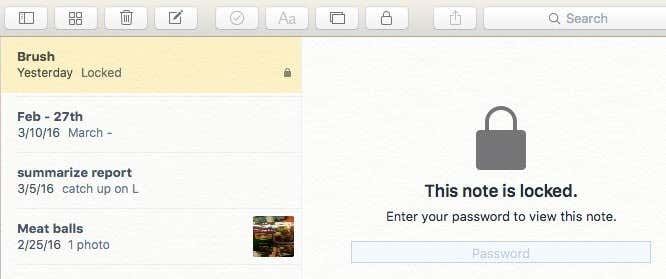
Since one password is used to protect all your notes, you might want to change your password or reset it, in case you forgot the password. When you change a password, it will change the password for all future notes and for all previously locked notes.If you reset the password, it will allow you to choose a new password, but only for newly locked notes. All your older notes that were locked using the older password will remain locked and can only be unlocked with the old password. You won’t be able to unlock those older locked notes using Touch ID once you reset the password.To change the password for all notes, go to Settings, then Notes and tap on Password.Tap on Change Password and then enter the old password followed by the new password. Now all your newly created locked notes and previously locked notes will be using this new password.If you tap on Reset Password, you’ll have to enter your iCloud password before it’ll let you enter a new password. As mentioned earlier, the notes that already had passwords will not be affected. To unlock the older notes, you’ll need to remember the older password.If you do reset the password and then open an older note that was locked with an older password, you’ll get a message asking if you would like to update the old password on that note to the new one. Note that if you do this, it will update all the older notes to the new password.Lastly, as long as OS X is updated to the latest version, you’ll be able to lock and unlock notes in the Notes app on OS X too.On OS X, you’ll have to enter the password since Touch ID is not supported. Overall, the lock notes feature works fairly well in iOS and OS X, but you do have to be mindful of the quirks and try not to forget your password. If you have any questions, feel free to comment. Enjoy!

