Instead of just getting rid of them or having to use a DVD player to watch them, which I don’t even own anymore, I decided I would rip them all to my NAS (network attached storage device) so that I can watch them anywhere or any device.Now it’s worth noting that technically it’s illegal to rip DVDs because of copyright protection, but the MPAA probably won’t be suing you unless you sell or distribute the ripped DVDs. As long as you keep them to yourself, you shouldn’t have to worry about any legal issues.Another issue to take note of is that some DVD drives have encryption protection on the drive itself and therefore can’t be circumvented by any kind of software. In those types of cases, you’ll need to get an older DVD drive that doesn’t have that type of built-in copyright protection.In order to rip a DVD to your computer, you basically need two things: a program called HandBrake and an open source library for unscrambling DVDs called libdvdcss. You’ll find tons of other articles in Google about ripping DVDs using other programs and methods, but this method is free, uses safe, clean and malware free software and works on both Windows and Mac.
Step 1 – Install HandBrake
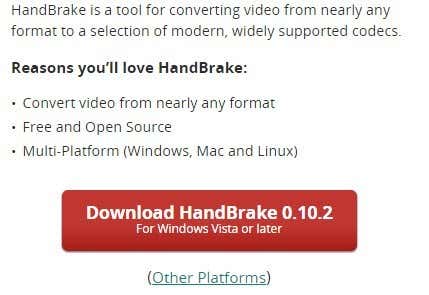
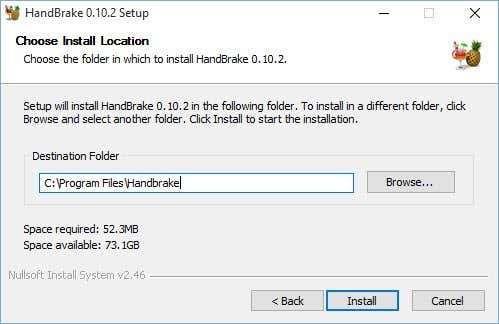
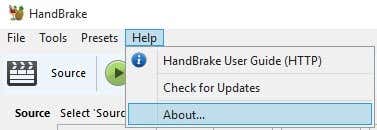
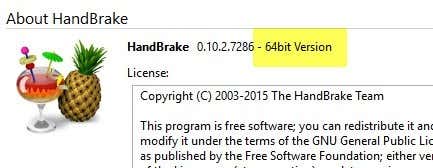
The first thing we need to do is download and install HandBrake on Windows or Mac. If you go to the main page, it automatically determines which version of the program you should download onto your computer.For Windows, it downloads a common x86 and x64 installer for 32-bit and 64-bit Windows and will install the appropriate version for your computer. For Macs, there is only a 64-bit version. Go ahead and install it in the default location for Windows or Mac.It should be a fairly quick install and you don’t have to choose any options, etc. At the end, go ahead and click Finish and HandBrake will now be installed. Now go ahead and run HandBrake, click on Help and then click on About. You only need to do this step if you are on Windows.At the top, you will see the version of HandBrake and whether it is the 64-bit version or the 32-bit version. Make a note of which version you have because you’ll need to know for the second step.
Step 2 – Download libdvdcss
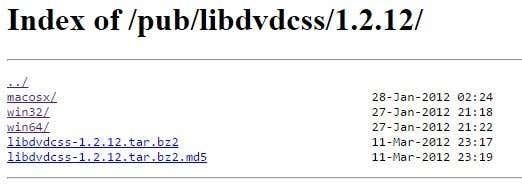
The open source decoding library is actually managed by the VideoLAN company, which creates the VLC media player software. Note that we do NOT need to install VLC media player. A lot of online tutorials state that you need to install HandBrake and VLC together, but you actually don’t have to do that.Depending on the version of HandBrake you have installed on Windows, here are the links to the appropriate versions.Windows 64-bit libdvdcssWindows 32-bit libdvdcssMac OS X libdvdcssJust click on the link for the DLL file and it will download it to your computer. For Mac, click on the libdvdcss.pkg file and download that.You’ll notice that this version of libdvdcss is actually pretty old (around 2012), but it’s the latest version for Windows and Mac. They have a lot of newer versions for Linux, which you can see here. I’m sure they will come out with a newer version eventually, so if you download the 1.2.12 version and this post is a couple of years old, make sure to browse through the newer versions and see if they have folders for Mac, Win32 and Win64 like they do for the 1.2.12 version.Go ahead and download the correct file (either the .pkg for Mac or the .dll file for 32-bit or 64-bit Windows) and then move on to step 3 for your operating system.
Step 3 – Install libdvdcss & Configure HandBrake – OS X
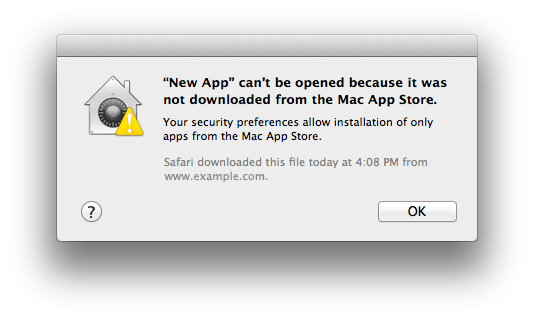
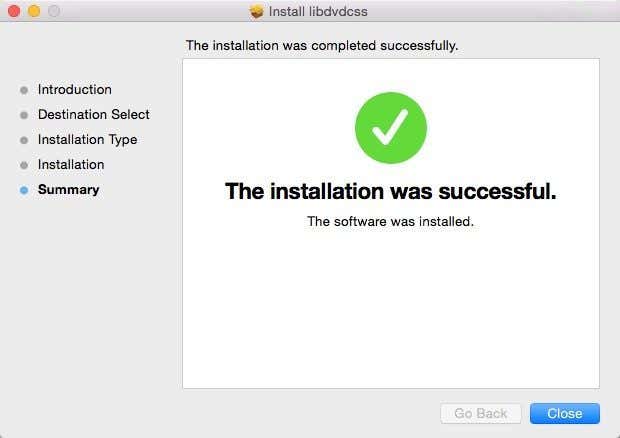
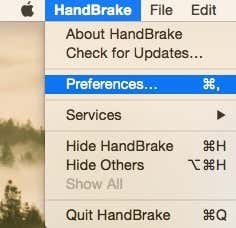
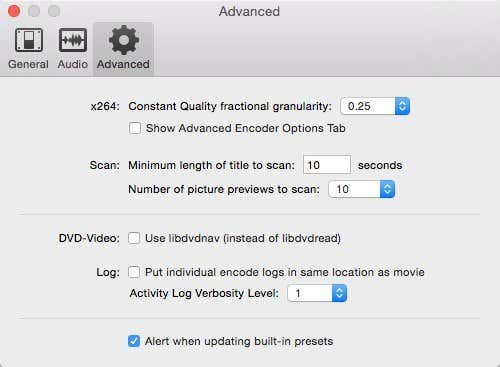
For Mac users, you will want to start by running the libdvdcss.pkg file on your Mac. When you double-click on the file, you might get a message saying the program was downloaded from the Internet and therefore blocked.In this case, you have to go to the Downloads folder and manually right-click on the package file and choose Open.You’ll be asked for your Administrator password, but you should be able to install the package at this point. If not, go to System Preferences and then Security and Privacy. At the bottom, you’ll see that the app was blocked, but you can click Open Anyway to run it.Once the package has been installed, you’ll see a message stating that the install was successful. Click the Close button and let’s now open HandBrake.We have to configure one setting in HandBrake and then you’ll be good to go. Open HandBrake and then click on HandBrake at the top and Preferences.Now click on the Advanced tab and then uncheck the Use libdvdnav (instead of libdvdread) box.That’s all you need to do for the OS X. Skip down to the Step 4 – Rip DVD in HandBrake section below to learn how to rip the DVD now that you have everything setup.
Step 3 – Install libdvdcss & Configure HandBrake – Windows
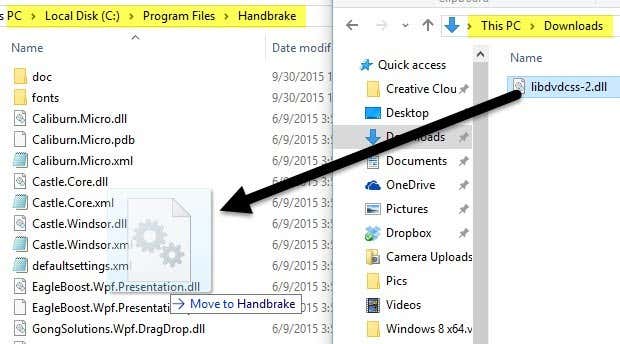
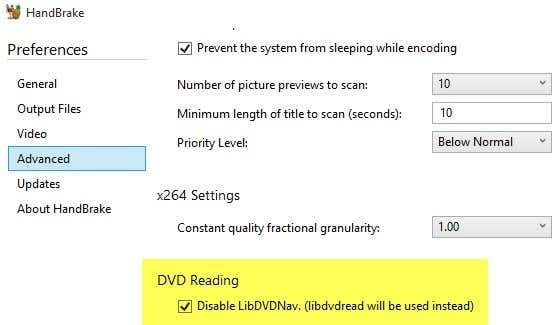
For Windows users, you have to copy the libdvdcss.dll file to the HandBrake directory on your computer. First, open one explorer window that points to your Downloads folder or whichever folder has the DLL file. Next, open another explorer window that points to C:\Program Files\HandBrake or C:\Program Files(x86)\HandBrake, depending on which version of HandBrake was installed.The (x86) path is for the 32-bit version of HandBrake and the other is for 64-bit. HandBrake will only be installed in one of those paths, not both. Now just drag and drop the DLL file into that folder. Note that you don’t have to rename the file by removing the -2 at the end of the file name. That was required in older versions of HandBrake, but not anymore.You might get a message stating you need Administrator Privileges in order to copy the file to that directory, so just click Continue and it should work. Once you have that file copied or moved to the HandBrake folder, go ahead and open HandBrake in Windows.At the top, click on Tools and then Options. Click on Advanced and then check the Disable LibDVDNav (libdvdread will be used instead) box.That’s all you have to do in Windows. Go ahead and restart HandBrake and then move on to step 4 to actually start ripping DVDs.
Step 4 – Rip DVD in HandBrake
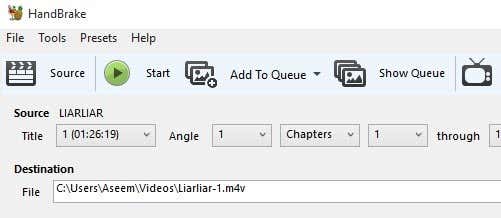
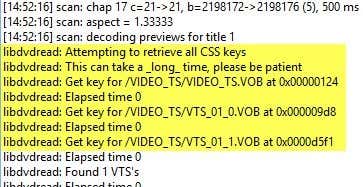
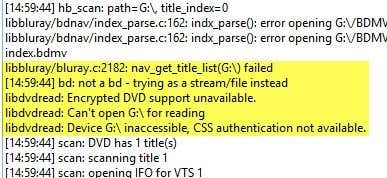
Now that we have the unscrambling program installed in HandBrake, we can actually start a DVD rip. Go ahead and pop in the DVD in your drive and open up HandBrake. Go ahead and click on Activity Log to open the log window.Now click on Source and then click on the DVD option that should be at the bottom. The program should automatically start scanning the DVD and then load up all the title and chapter information. If, for some reason, you get an error and nothing loads, you might have to close HandBrake and open it again, but this time right-click on the desktop shortcut and choose Run as Administrator.As long as you get the title and chapter info loaded, that means the encryption was able to be circumvented and you should be good to go. You will also see this information in the Activity Window as the following highlighted lines:Depending on the DVD encryption, it can take anywhere from a few seconds to minutes in order for the program to decode the encryption keys, so be patient. If you see the following in the activity log and the chapter and title info don’t load, then you have to delete the libdvdcss-2.dll file and try to copy it again. Make sure to close HandBrake first and right-click on the shortcut and choose Run as Administrator when opening it back up after copying the file.Hopefully, this tutorial is detailed enough for anyone to follow. It does take a few steps, but nothing is very complicated. You luck with vary depending on the DVD drive you have and the type of DVD encryption you have to bypass. If you have any questions, feel free to comment. Enjoy!
