Note that in order to get started with document sharing in Word, you have to save your documents to the cloud. Not all your documents, but at least the one that is going to be shared. That means you need to setup a OneDrive account first and then log into your Microsoft account from within Word.
Share Word Doc
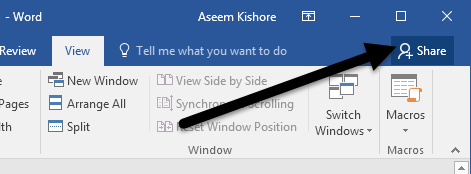
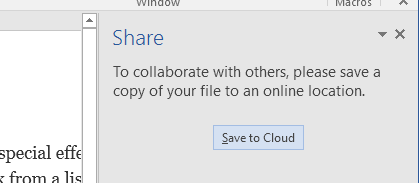
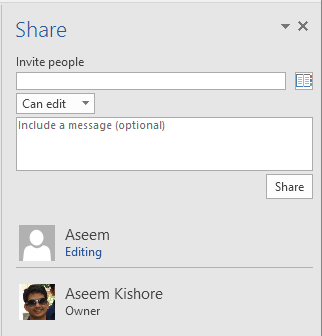
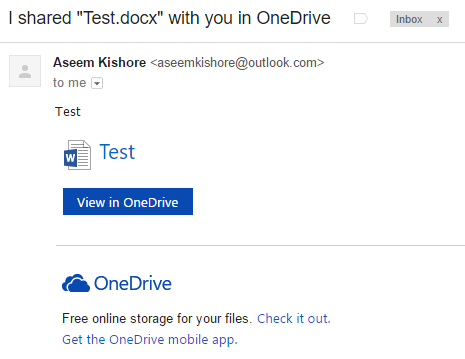
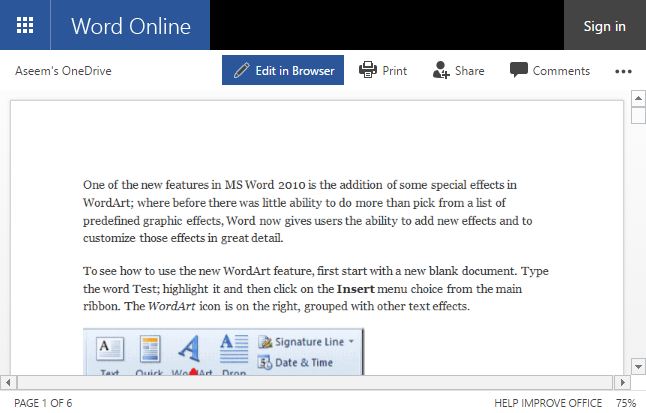
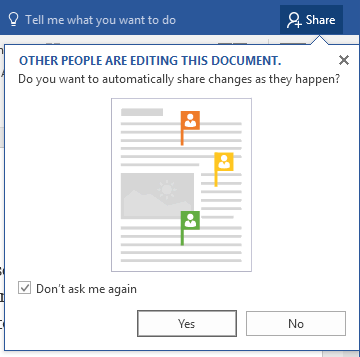
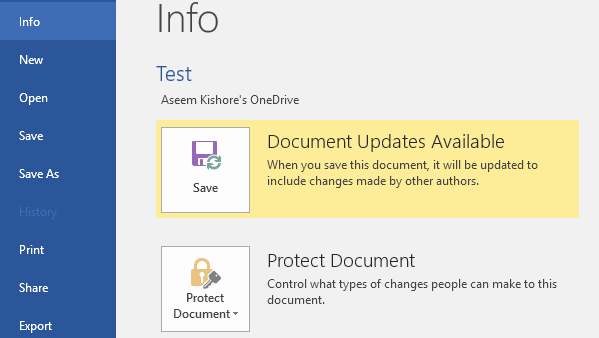
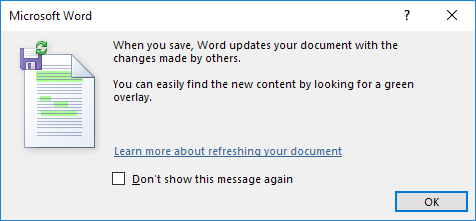
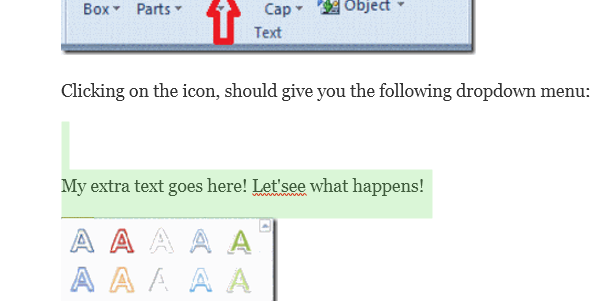
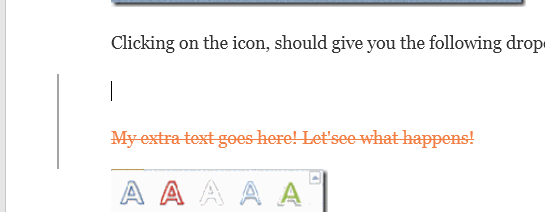
Once you have OneDrive setup properly in Word, go ahead and click on the Share button at the top right of the screen.This will bring up a pane on the right hand side of the screen. If the document has not been saved to the cloud yet, you’ll have to click the Save to Cloud button.This will bring up the Save As dialog, which should already be set to OneDrive. Give your file a name and save it.Once it has been saved and uploaded to the cloud, go back to the Share dialog and you’ll now be able to invite people to join. Type in an email address, choose whether they can edit it or just view it and then include an optional message.On the receiving end, an email will arrive that includes a link to the document stored in the sending party’s OneDrive account:When the user clicks on the link, it will take them to a browser version of Word called Word Online, where the document can be edited.Click the Edit in Browser button and you’ll get the familiar ribbon interface of the desktop Word program. The user can edit the document without needing Word installed or needing to have a OneDrive account.The document automatically saves, so the user doesn’t have to worry about trying to save the document themselves. On your end, you’ll see a message pop up saying that other people are editing the document and asking if you want to automatically share changes as they happen. I recommend clicking Yes here.Note that you won’t see the changes from other users until you save the document. If you click on File, you’ll see a new message on the Info tab that says Document Updates Available.Go ahead and save your document and you’ll get another message explaining that new changes made by others will be shown with a green overlay.Click OK and browse through your document. Anything in green is what has been changed or added by someone else. In my testing, if someone deleted something from the document, it didn’t show anything in green.Note that once you save the document, the green highlight will disappear until new changes are made. If you want to keep track of what changes are being made, you should enable Track Changes on the document before you share it, otherwise it’s kind of hard to tell what’s going on, especially if multiple people are editing the document.Above, I have enabled Track Changes on the Review tab and now in addition to the green highlighted text, I also have the red vertical bars in the left hand column. Since deletions don’t show in green, you can only see them by tracking changes. Click on the red line and it’ll show you the deleted content in strike-through.Overall, Word is a great tool to collaborate in real-time with multiple authors or editors and the syncing aspect works very well. One feature I noticed is that when someone else is editing a certain paragraph, it prevents others from editing that section until the first person is finished. This ensures that people aren’t overwriting the same sections at the same time. If you have any questions, feel free to comment. Enjoy!